I broke my first WordPress site because I let a one-click installer handle everything. When something went wrong, I had no idea which files existed where or how the database connected. That failure taught me manual installation isn’t harder, it’s smarter.
Manual WordPress installation via FTP gives you absolute control over your environment. One-click installers often add unwanted plugins and bloatware that clutter your database from day one. Understanding manual WordPress installation via FTP ensures you start with a clean slate and set precise file permissions that protect your site. This guide builds on our comprehensive WordPress Basics and Installation foundation to help you deploy WordPress like a professional.
Why Manual WordPress Installation via FTP Remains the Gold Standard
One-click installers serve beginners well enough.
Engineers and developers who require absolute control over their environment still prefer manual installation via FTP. Manual deployment prevents hosting providers from adding unwanted pre-installed plugins. It allows you to set precise file permissions from day one.
In 2026, where security and performance form the primary metrics for search engine rankings, starting with a clean manual installation provides the best foundation for a high-performance site.
Required Technical Assets for Manual WordPress Installation
You need three specific components before starting.
First, you need a local FTP client. FileZilla and WinSCP lead the industry as standards, but Cyberduck provides a viable alternative for macOS users. Second, you need your server credentials including your Hostname (often an IP address), Username, and Password.
Use SFTP, Never Standard FTP
Always use SFTP (SSH File Transfer Protocol) over standard FTP.
Standard FTP sends your password in plain text across the internet. That security risk proves unacceptable in 2026 where automated bots constantly scan for vulnerabilities.
Download WordPress Core Files from Official Sources
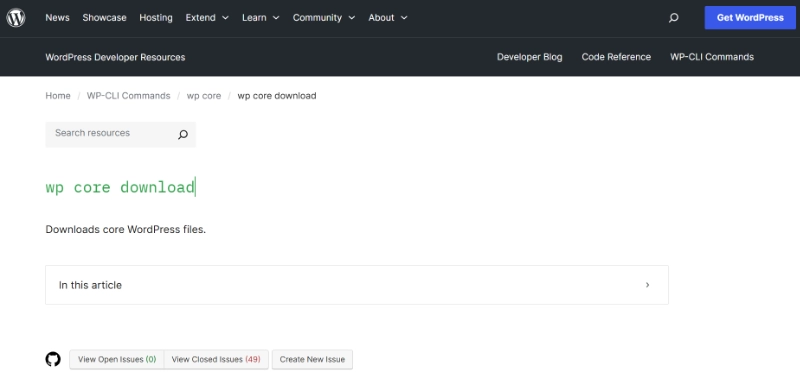
You need the WordPress core files as your third component.
Download these only from the official WordPress.org repository. Third-party mirrors often contain malicious scripts or outdated code that compromise your site before you even launch it.
Before proceeding, verify your server meets modern requirements by reviewing our guide on WordPress System Requirements Explained.
Phase 1: Creating Your WordPress Database
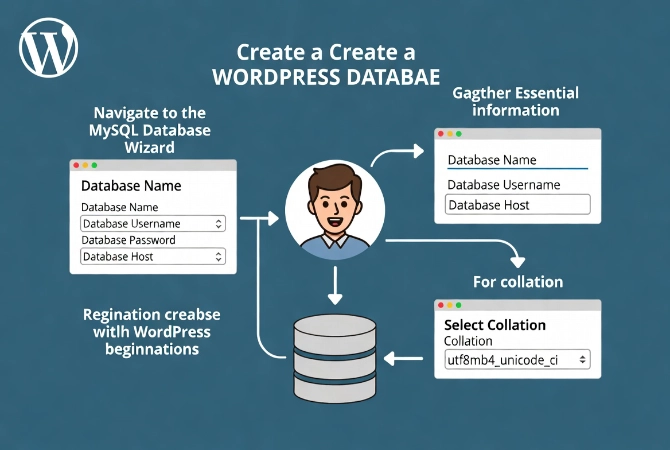
WordPress relies on a MySQL or MariaDB database to store your content, settings, and user data.
You must create this database before touching any files. Most modern hosting environments use a control panel like cPanel or DirectAdmin. Navigate to the MySQL Database Wizard or its equivalent tool.
Essential Database Information You’ll Need
Gather four pieces of critical information:
- Database Name
- Database Username
- Database Password
- Database Host (Usually “localhost”)
When you create the user, grant them “All Privileges.” This permission level allows the installation script to create required tables. For database collation, select utf8mb4_unicode_ci. This setting ensures your site handles all international characters and modern emojis without data corruption.
Phase 2: Preparing WordPress Core Files for Upload
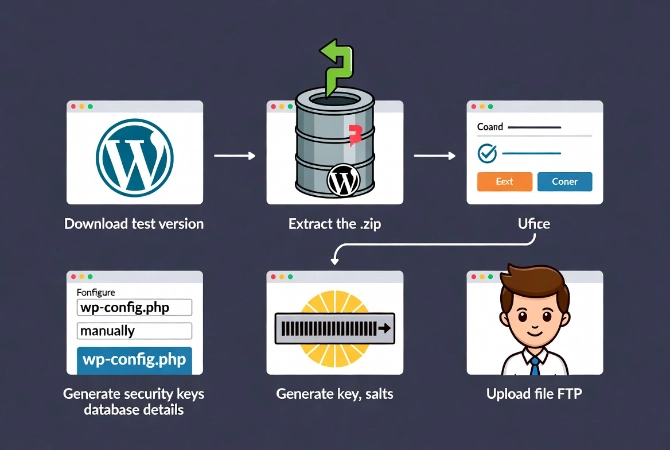
Download the latest WordPress version from the official repository.
You receive a .zip file that you must extract on your local machine. You’ll see a folder named “wordpress.” Open this folder carefully because you need to upload the files inside it, not the folder itself.
Configuring wp-config.php Manually
Find the file named wp-config-sample.php in the extracted files.
A seasoned professional edits this manually rather than letting the web-based installer handle it. Rename the file to wp-config.php and open it in a text editor like VS Code or Notepad++.
Locate the following lines and insert your database details:
- DB_NAME: Enter your database name here
- DB_USER: Enter your database username here
- DB_PASSWORD: Enter your database password here
- DB_HOST: Leave as “localhost” unless your host specifies otherwise
Generate Security Keys and Salts
Look for the Authentication Unique Keys and Salts section.
These random strings improve encryption for your site. Never make these up yourself. Visit the official WordPress.org Salt Generator to get a fresh set of keys. Paste them into your file immediately.
This step forms a primary defense against cookie-based attacks. Skipping it or using default values leaves your site vulnerable to session hijacking.
Phase 3: Uploading WordPress Files via FTP
Open your FTP client and connect to your server using your SFTP credentials.
The right side of your screen displays your server files. Locate the root directory, usually named public_html, htdocs, or your domain name.
The Upload Process Step-by-Step
Navigate to the extracted WordPress files on your computer in the left panel.
Select every file and folder inside the “wordpress” directory. Drag them to the right panel where your server directory appears. The upload process duration depends on your internet speed and the server’s disk I/O performance.
Modern WordPress core consists of roughly 2,800 files. Even with a fast connection, this process takes several minutes. If your client reports failed transfers, re-queue those files immediately. A single missing file in the wp-includes folder can cause the “White Screen of Death” later.
Server Configuration Requirements for WordPress Installation
Ensure your server runs the correct software versions before proceeding.
According to Wikipedia’s technical documentation, WordPress has historically evolved to support the latest PHP versions quickly. In 2026, you should use PHP 8.4 or higher for optimal security and speed.
| Component | Recommended Version | Purpose |
|---|---|---|
| PHP | 8.4+ | Script execution and logic |
| MySQL | 8.0+ | Data storage and retrieval |
| Web Server | Nginx 1.25+ | Handling HTTP requests |
| Memory Limit | 512MB | Executing complex tasks |
Phase 4: Running the WordPress Installation Script
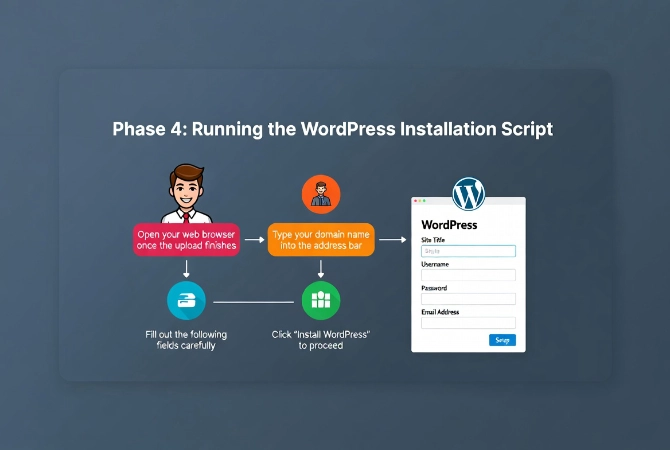
Open your web browser once the upload finishes.
Type your domain name into the address bar. If you placed files in a subfolder, add that subfolder name to the URL. If the files sit in the root directory, simply navigate to yourdomain.com.
The WordPress setup screen greets you immediately. Since you already configured your wp-config.php file, the script skips database setup and goes straight to site information.
Critical Installation Fields
Fill out the following fields carefully:
- Site Title: You can change this later
- Username: Never use “admin” or “webmaster” (first targets for brute force attacks)
- Password: Use the high-entropy string the installer generates
- Email Address: Critical for recovery and system notifications
- Search Engine Visibility: Check this for staging sites, uncheck for live sites
Click “Install WordPress” to proceed. The process takes seconds while the script creates database tables and populates initial settings.
After installation completes, configure essential settings using our guide on 10 Essential Settings After Installing WordPress.
Troubleshooting Common Manual WordPress Installation Errors
Sometimes the process encounters problems despite careful preparation.
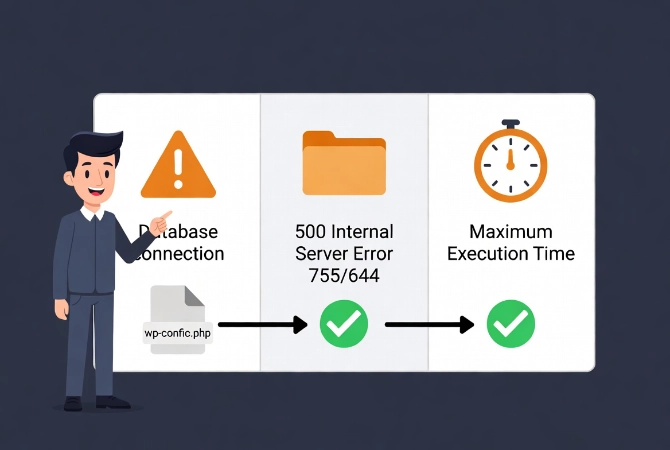
Error Establishing a Database Connection
This error points to wp-config.php file issues.
Check for typos in the password or database host. If credentials appear correct, your database user might lack the right permissions. Return to your hosting control panel and verify the user has “All Privileges” on the specified database.
Review our comprehensive guide on How to Fix Common WordPress Installation Errors for systematic troubleshooting.
500 Internal Server Error
The problem likely stems from your .htaccess file or folder permissions.
WordPress requires folders set to 755 and files to 644. Change these directly in your FTP client by right-clicking a folder, selecting “File Permissions,” and entering the numeric value. Apply changes to all subdirectories.
Maximum Execution Time Error
This happens when the server runs slowly during the final installation step.
Increase the execution time by adding a line to your .user.ini file or .htaccess file. Setting it to 300 seconds proves sufficient for standard installations.
Critical Security Steps After Manual Installation
Your job continues beyond seeing the login screen.
Secure Your FTP Client
FTP leaves a trace in your client’s history.
Some clients store passwords in plain text in their site manager. Clear your cache and history immediately after installation completes.
Lock Down wp-config.php Permissions
Change file permissions for wp-config.php to 600.
This prevents other users on a shared server from reading your database credentials. Also verify that your .htaccess file exists in the root directory. This file handles your permalinks and many security redirects.
Strengthen your site further using strategies from WordPress Security Basics for Beginners.
Implement Regular Backups Immediately
Set up automated backups before adding any content.
Follow our comprehensive guide on How to Backup Your WordPress Website to protect your work from the start.
Why Manual Installation Beats Automated Tools
Manual installation via FTP provides precision that automated tools cannot match.
Every file on your server remains traceable and under your control. The database starts completely clean without bloatware. Proper permissions and secure connections establish themselves from the first moment. This method forms the foundation of a professional web development workflow.
When to Choose Manual Over One-Click Installation
Consider your long-term goals when choosing installation methods.
A simple blog might work fine with a one-click tool. High-traffic business sites or e-commerce platforms require manual control. It allows faster troubleshooting because you already know the architecture of your setup. You’re not guessing what a script did in the background.
This approach works with all hosting types, whether you use a Virtual Private Server (VPS) or a dedicated machine. It provides the most portable way to move sites between hosts as well. Master this process, and you’ll never face lock-in to a specific provider’s ecosystem.
Frequently Asked Questions About Manual WordPress Installation
Is manual installation harder than using Softaculous?
Manual installation requires more steps but gives you complete control. Once you’ve done it a few times, the process becomes routine. The knowledge you gain helps tremendously when troubleshooting issues later.
Can I install WordPress in a subdirectory using FTP?
Yes, simply upload the WordPress files to a subfolder in your root directory instead of the root itself. Your site will then be accessible at yourdomain.com/subfolder.
What should I do if file uploads fail repeatedly?
Check your internet connection stability first. Switch from passive to active mode in your FTP client settings. If problems persist, your server might have disk space limitations or permission issues that require hosting support.
How do I verify my installation was successful?
Navigate to your domain in a web browser. You should see either the WordPress installation screen (if you skipped wp-config.php editing) or be able to log into your admin dashboard at yourdomain.com/wp-admin.
Additional Resources for WordPress Installation
Continue building your WordPress expertise with these essential guides:
- Master the complete process in WordPress Basics and Installation
- Understand technical needs with WordPress System Requirements Explained
- Configure your site using 10 Essential Settings After Installing WordPress
- Secure your installation with WordPress Security Basics for Beginners
- Protect your work through How to Backup Your WordPress Website
- Fix problems using How to Fix Common WordPress Installation Errors
Manual WordPress installation via FTP represents the professional standard for deployment. The precision you gain through this method pays dividends when you need to troubleshoot, migrate, or optimize your site. You built it yourself, so you understand every component. This knowledge makes you independent from specific hosting providers and their proprietary systems. Return to WordPress Basics and Installation whenever you need to review the fundamentals of professional WordPress deployment. Master this skill, and you’ll join the ranks of developers who truly control their digital infrastructure.