How to Install a WordPress Theme Safely
I still remember my first attempt at installing a WordPress theme.
I downloaded what I thought was a wonderful premium theme, clicked upload, and watched my entire site turn into a white screen of nothingness. My heart sank.In an instant, I lost hours of work..
Install themes only from WordPress.org or a vendor you can verify. A child theme is useful when you need to override parent-theme files or add code, but it is not mandatory for changes stored in the Customizer, Site Editor, or a supported settings interface. Never assume activation will preserve every menu, widget area, template, or page-builder layout.
Practical checklist
- Back up the database and files and test the theme on staging.
- Confirm PHP and WordPress compatibility plus the vendor update policy.
- After activation, check templates, navigation, forms, structured data, mobile layout, and error logs.
Learning how to install a WordPress theme properly isn’t just about clicking buttons—it’s about understanding the process so you can avoid the mistakes that crashed my site that day. Whether you’re following our guide on WordPress Basics and Installation or upgrading an existing site, getting your theme installation right from the start prevents headaches and lost time.
In this guide, I’ll walk you through three proven methods to install a WordPress theme safely, plus the critical steps everyone forgets after activation.
⚡ Quick Summary (TL;DR)
- Pre-Installation Requirements: Themes built for modern WordPress environments require a minimum of PHP 8.2. Additionally, verify that your server’s maximum upload limit accommodates larger premium theme files to prevent installation timeouts.
- Three Installation Methods: You can install vetted options directly from the native WordPress Directory, manually upload premium
.zippackages through your dashboard (watching out for nested zip archives), or bypass browser limits completely via SFTP by dropping the unzipped folder into/wp-content/themes/. - The Child Theme Rule: Never modify a parent theme’s files directly. Always utilize a child theme to isolate custom CSS and
functions.phpscripts so that core updates do not erase your design work. - Post-Activation Hardening: Test menus, forms, and mobile layouts in an incognito window immediately after activation. If a theme breaks your site with a White Screen of Death (WSOD), log in via SFTP, rename the active theme’s directory, and WordPress will instantly fall back to a default theme to restore dashboard access.
What You Need Before Installing Any WordPress Theme
Here’s something most tutorials skip: checking your server requirements before you even download a theme.
I learned this lesson after wasting an afternoon trying to upload a theme that was too large for my server settings.
Check Your PHP Version First
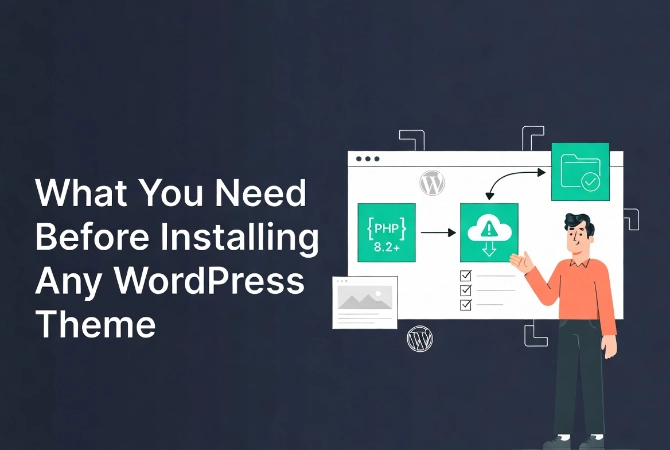
Modern WordPress themes in 2026 require at least PHP 8.2 or higher.
Why does this matter? Themes built for newer PHP versions won’t work on older servers—they’ll either fail silently or throw confusing error messages. Check your hosting control panel under “Software” or “PHP Settings” to verify your version.
If you’re running anything below PHP 8.0, contact your host about upgrading before you install any new themes.
Verify Your Upload Limits
Premium themes can easily exceed 50MB in size.
If your server has an 8MB upload limit (which many cheap hosts default to), your theme upload will fail halfway through. You’ll see cryptic error messages and wonder what went wrong.
Find your upload limit by creating a simple phpinfo file or checking your hosting control panel. If it’s too low, you’ll need to use Method 3 (SFTP), which I’ll explain later.
File Permissions Matter
Your wp-content/themes directory needs the correct permissions for WordPress to write new files.
The industry standard is 755 for folders and 644 for files. Too restrictive, and WordPress can’t install anything. Too loose, and you’re inviting security problems.
Most quality hosts set this correctly by default, but it’s worth checking if you’ve had installation issues before.
Method 1: Installing Themes from the WordPress Directory
This is the safest and easiest method for beginners.
Every theme in the official WordPress directory undergoes manual review. The code must meet strict standards for security and accessibility (following W3C Accessibility Standards). You’re getting vetted quality themes.
Step-by-Step Installation Process
Here’s exactly how to install a theme from the dashboard:
- Log into your WordPress admin area
- Click on Appearance in the left sidebar
- Select Themes
- Click the Add New Theme button at the top
- Use the search bar to find a specific theme or browse by features
- Hover over a theme thumbnail and click Install
- Wait for installation to complete, then click Activate
The moment you click activate, your site’s appearance changes instantly.
The Critical Step Everyone Skips
Don’t just admire your new theme and walk away.
Open an incognito browser window immediately and check your site. Sometimes active plugins conflict with new theme CSS in ways you won’t see while logged in as an admin.
I once activated a beautiful theme only to discover later that my contact forms had completely disappeared for regular visitors. An old optimization plugin was blocking the theme’s JavaScript.
Method 2: Uploading Premium Themes via Dashboard
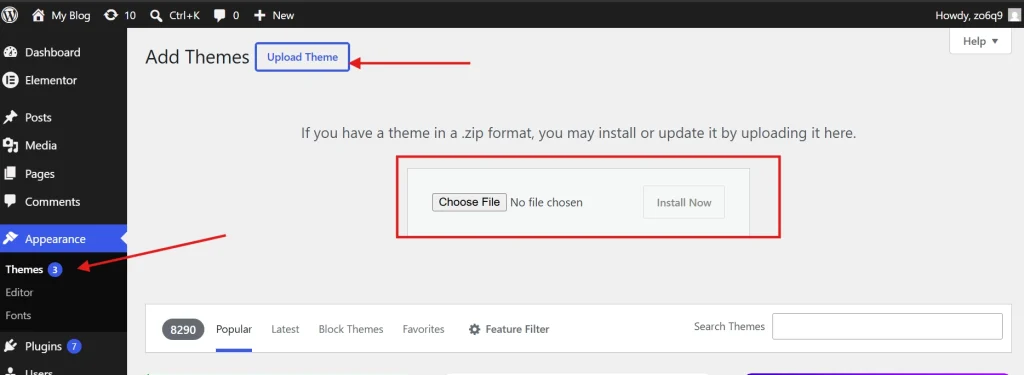
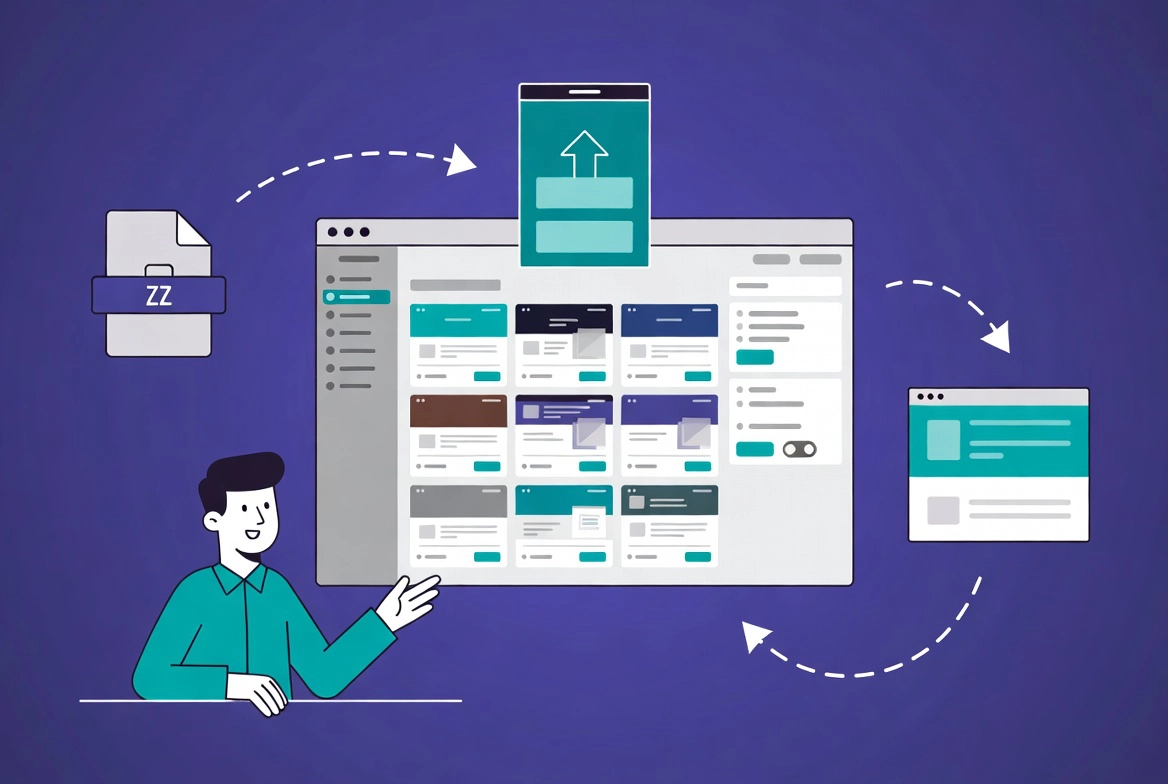
When you purchase themes from third-party marketplaces, they come as .zip files.
These premium themes often include custom features and designs you won’t find in the free directory. The upload process is slightly different but still straightforward.
How to Upload a Theme File
Follow these steps carefully:
- Download the .zip file from your theme provider
- Go to Appearance → Themes in your WordPress dashboard
- Click Add New Theme
- Select the Upload Theme button
- Choose your .zip file from your computer
- Click Install Now
- Wait for installation, then click Activate
The “Missing Stylesheet” Error That Drives People Crazy
I see this error constantly in support forums.
You upload your theme file and get “Missing style.css stylesheet.” What happened?
Theme vendors often package their files with documentation, licensing info, and the actual theme all in one download. You need to unzip that main package first, find the inner .zip file that contains just the theme folder, and upload that specific file.
Here’s the trick: the correct. The zip file should have the same name as the theme itself, not something generic like “all-files” or “package.”
Method 3: Installing WordPress Themes via SFTP
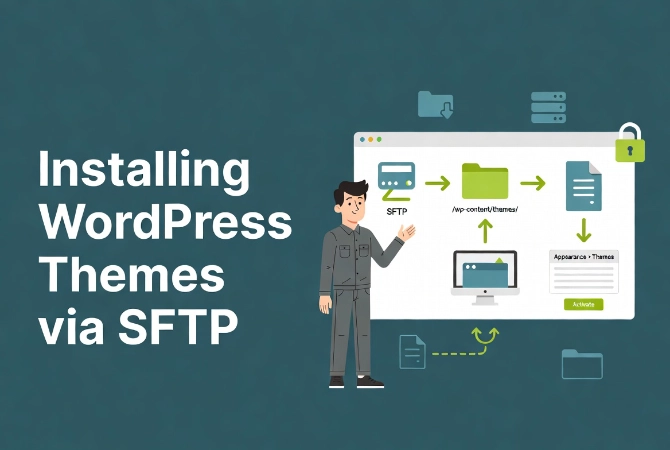
Sometimes the browser-based methods just won’t work.
Large theme files might timeout. Strict server security might block dashboard uploads. When that happens, SFTP (Secure File Transfer Protocol) is your professional solution.
Why SFTP Instead of Regular FTP
Never use standard FTP in 2026.
Regular FTP transmits your password in plain text—anyone monitoring the connection can see it. SFTP encrypts everything. It’s the security standard for file transfers.
You’ll need an SFTP client like FileZilla (free) or Transmit (Mac). Your hosting provider gives you SFTP credentials in your control panel.
Step-by-Step SFTP Installation
This method gives you complete control:
- Connect to your server using your SFTP client and credentials
- Navigate to the /wp-content/themes/ directory
- Unzip your theme folder on your local computer first
- Upload the entire unzipped folder to the themes directory
- Return to your WordPress dashboard
- Go to Appearance → Themes
- Find your new theme and click Activate
This method bypasses PHP upload limits completely. If you manage multiple sites, it’s often the fastest approach once you’re comfortable with the tools.
Why You Must Use Child Themes for Customization
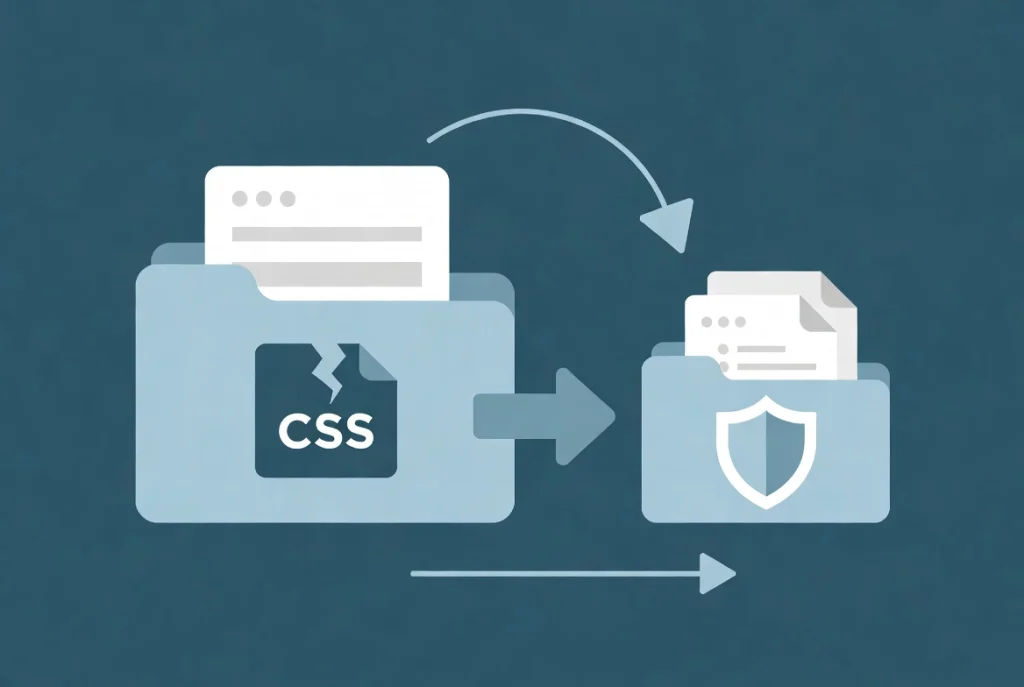
Here’s a mistake that cost me days of work early in my WordPress journey.
I customized my theme’s CSS directly in the main theme files. Everything looked perfect. Then the theme developer released an update, and every single customization vanished instantly.
What Child Themes Actually Do
A child theme inherits all functionality from its parent theme but keeps your customizations safe.
When the parent theme updates, your child theme preserves your custom CSS, template modifications, and function additions. It’s the only officially supported way to modify theme code without losing work.
Creating a Child Theme Isn’t Hard
You need two files in a new folder within wp-content/themes:
- style.css—Contains a header that declares the parent theme
- functions.php – Enqueues the parent theme’s styles
Many modern themes now include a “Create Child Theme” button in their settings. Use it. It ensures the file structure is perfect and saves you from syntax errors.
According to official WordPress documentation, child themes are essential for long-term site maintenance.
Advanced: Installing Themes with WP-CLI
If you manage multiple sites, clicking through dashboards gets tedious fast.
WP-CLI (WordPress Command Line Interface) lets you install and activate themes in seconds without opening a browser. It’s the professional standard for automated deployments.
Quick Command Reference
For themes in the WordPress directory:
wp theme install theme-slug --activateFor local theme files:
wp theme install /path/to/theme.zip --activateThis eliminates human error in the UI. You can also script your entire site setup process, which saves hours on client projects.
Critical Post-Activation Checklist
Activating a theme is just the beginning.
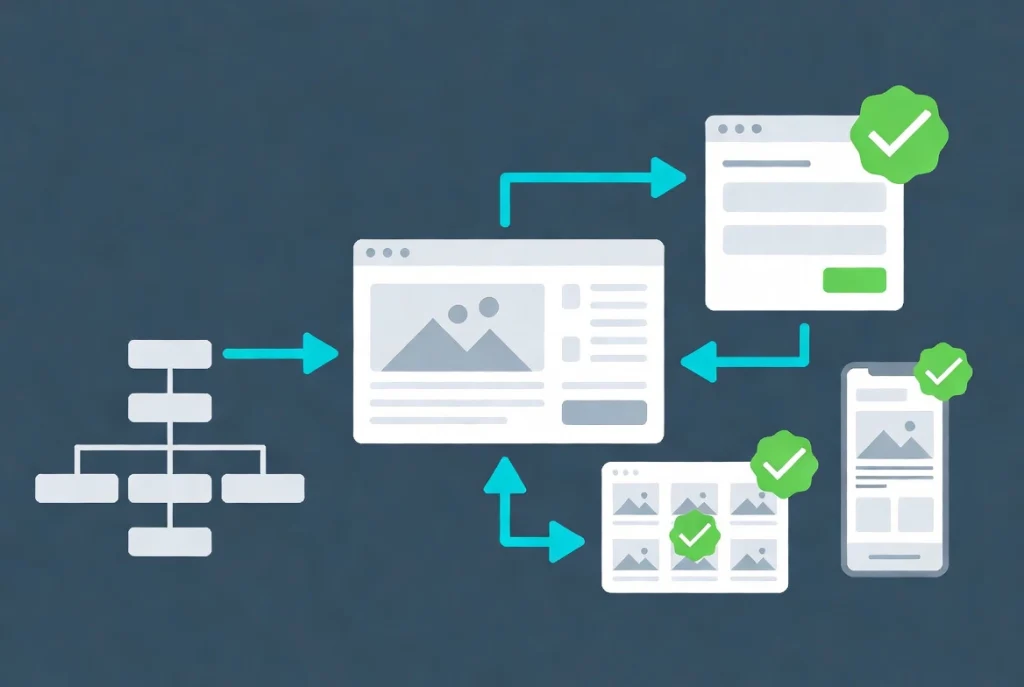
Your new theme changes how WordPress queries data, crops images, and displays content. You need a systematic check to ensure everything works correctly.
Check Your Navigation Menus
WordPress tries to map your old menus to the new theme’s locations automatically.
It doesn’t always work. I’ve seen primary menus end up in footers, secondary menus disappear entirely, and mobile menus break completely.
Go to Appearance → Menus immediately after activation and verify all your menus are in the correct locations. If you’re using a block theme, you’ll configure this in the Site Editor instead.
Test Your Contact Forms
Forms often break with new themes.
The new theme might not include the CSS your form plugin needs, or JavaScript conflicts might prevent submissions. Fill out and submit every form on your site to confirm they work.
Verify Image Sizes
Different themes use different image dimensions.
Your featured images might look perfect with your old theme but appear cropped or stretched with the new one. You may need to regenerate thumbnails using a plugin like Regenerate Thumbnails.
Check Mobile Responsiveness
Never assume a theme is mobile-friendly just because it claims to be.
Pull out your phone and actually browse your site. Check navigation, forms, images, and any custom layouts. I’ve caught numerous mobile issues this way that weren’t visible in desktop responsive testing tools.
Security: Scanning New Themes for Malware
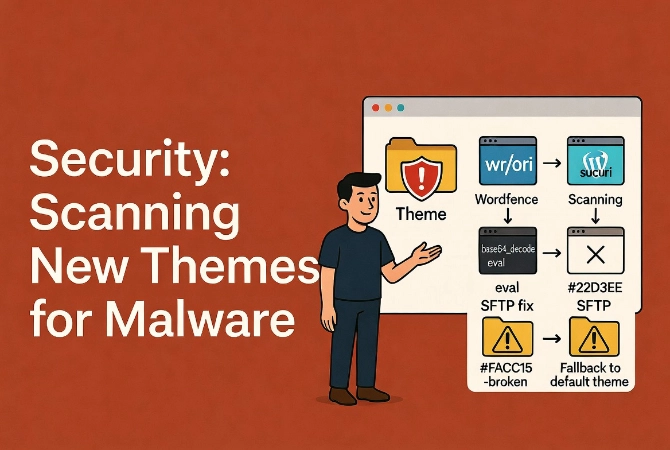
If you didn’t download your theme from the official repository or a trusted marketplace, scan it for malware immediately.
Why “Nulled” Themes Are Dangerous
Free downloads of premium themes often contain hidden backdoors.
These malicious scripts hide in functions.php or obfuscated JavaScript files. They create backdoors for hackers, inject spam links, or steal your data.
How to Scan Your Theme
Use security plugins like Wordfence or Sucuri to scan for known malware signatures.
But automated tools miss custom exploits. I manually check theme files for suspicious functions like base64_decode or eval(). While these have legitimate uses, they’re red flags in third-party themes.
If you see them and don’t understand why they’re there, don’t use the theme. Your security isn’t worth the risk.
Troubleshooting: Fixing the White Screen of Death
This happened to me on my first theme installation, and my heart stopped.
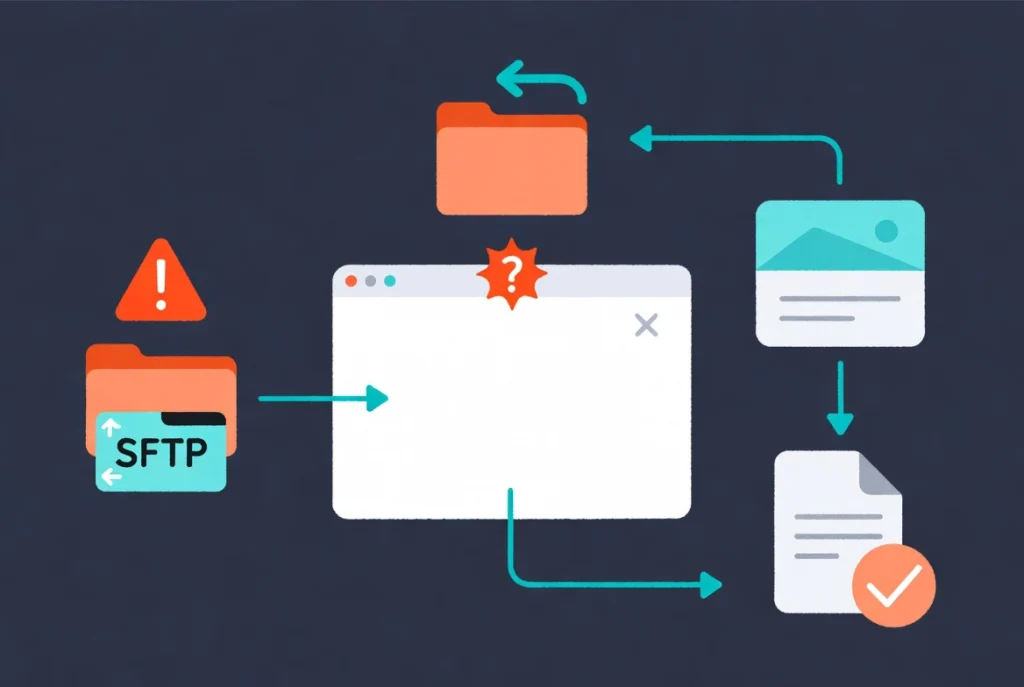
You activate a theme, and suddenly your entire site is a blank white screen. No error message. Just whiteness.
Why This Happens
Usually, it’s a PHP error—the theme is calling a function that doesn’t exist or conflicting with an active plugin.
The Quick Fix
Don’t panic. Here’s what to do:
- Access your site via SFTP
- Navigate to wp-content/themes/
- Rename the folder of the theme you just activated (add “-broken” to the end)
- WordPress automatically falls back to a default theme
- You can now access your dashboard again
Check your error logs to find the exact line of code that caused the crash. Often, it’s a simple fix like updating your PHP version or deactivating a conflicting plugin.
Why You Should Never Test Themes on Live Sites
Here’s professional advice that will save you embarrassment and lost revenue.
Never activate a new theme on a site with active traffic. Ever.
Use a staging environment—a complete copy of your site where you can test safely. Most quality hosts provide one-click staging environments. If yours doesn’t, consider upgrading.
I once crashed a client’s e-commerce site during peak shopping hours because I tested a theme on their live site. We lost thousands in sales. That mistake taught me staging environments aren’t optional—they’re essential.
Next Steps After Installing Your WordPress Theme
Your theme is installed and active—now what?
Start by customizing your site’s appearance using the built-in customizer or Site Editor. Most modern themes include demo content you can import to see how different layouts work.
Here are some resources to help you master your new theme:
- Review our comprehensive guide on WordPress Basics and Installation for foundational knowledge
- Learn about WordPress fundamentals in our What is WordPress? A Beginner’s Guide
- Master the editor with our Gutenberg Editor Tutorial for Beginners
Installing a WordPress theme correctly is a fundamental skill that separates beginners from professionals. Take your time, follow the steps, and always prioritize security and testing over speed. Your website visitors will thank you for it.