I broke my first WordPress site with a plugin.
I was excited about adding a fancy slider to my homepage, so I installed the first plugin I found without checking reviews, update history, or compatibility. Within hours, my site was throwing errors, pages were loading slowly, and visitors were bouncing faster than ever.
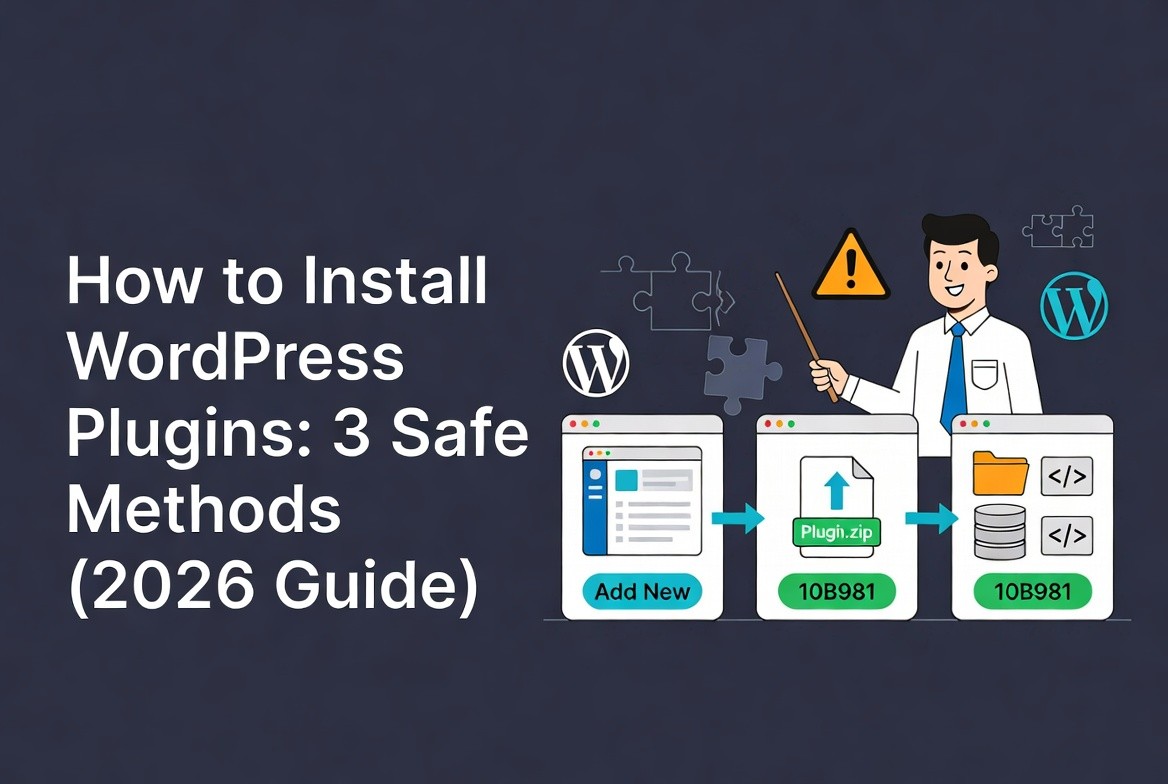
Learning how to install WordPress plugins properly isn’t just about clicking buttons—it’s about understanding which plugins to trust, how to install them safely, and how to manage them without turning your site into a bloated, vulnerable mess. This guide builds on our WordPress Basics and Installation series to help you master the plugin ecosystem professionally.
In this guide, I’ll show you three proven methods to install WordPress plugins, plus the critical management strategies that separate professional sites from amateur ones.
Why Every WordPress Plugin Installation Carries Hidden Costs
Here’s something most tutorials won’t tell you upfront.
Every plugin you install adds code that your server must parse, database queries that must execute, and scripts that browsers must download. You’re not just adding a feature—you’re adding technical debt.
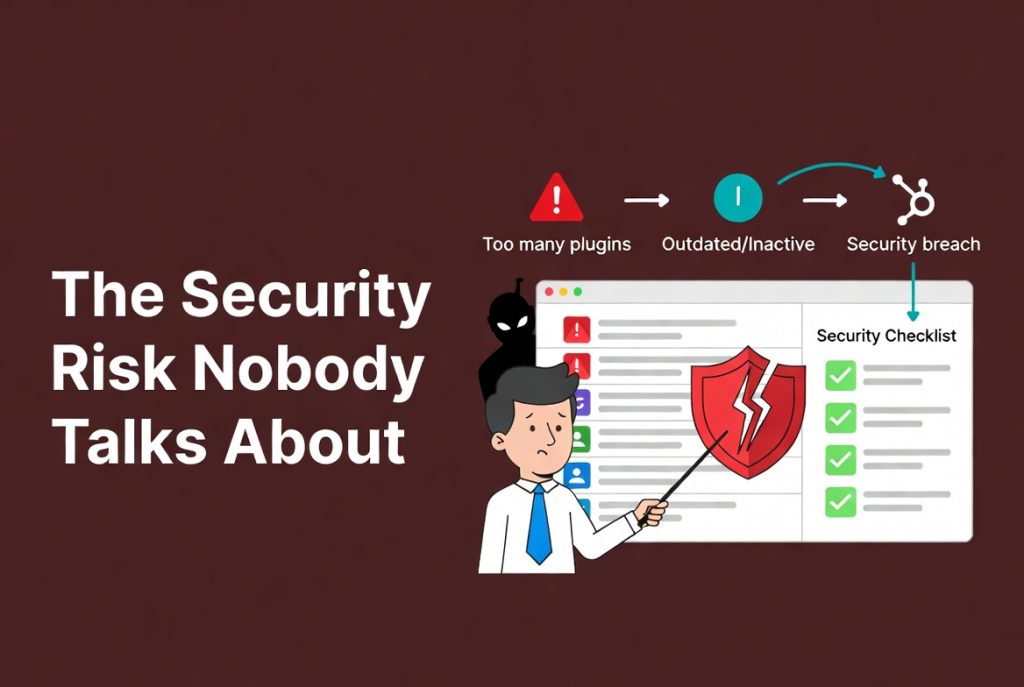
The Security Risk Nobody Talks About
Security audits consistently show that over 50% of WordPress vulnerabilities come from poorly coded or outdated plugins.
This isn’t WordPress’s fault. It’s a management problem. I’ve seen sites compromised because someone installed a flashy plugin from a sketchy source, or because they left 15 inactive plugins sitting on their server.
Your plugin list needs to be treated like a security checklist, not a junk drawer.
Performance Takes a Hit With Every Addition
I once audited a site that had 47 active plugins.
The owner couldn’t understand why pages took 8 seconds to load. Each plugin was adding its own CSS files, JavaScript libraries, and database queries. The site was drowning in feature bloat.
The solution? We cut it down to 12 essential plugins, and page load times dropped to under 2 seconds.
The Critical Plugin Vetting Process Before Installation
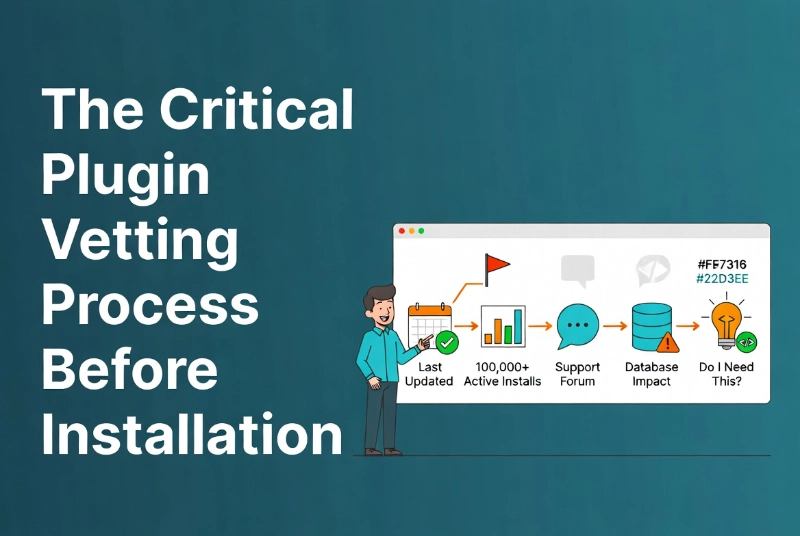
Never click “Install” without doing your homework first.
Even plugins in the official WordPress repository aren’t guaranteed to be high quality. You need a systematic vetting process.
Check the Last Update Date
If a plugin hasn’t been updated in over six months, treat it as a red flag.
Outdated plugins might not work with the latest PHP version or WordPress core. I learned this when an old plugin crashed a client’s site the day after they updated WordPress.
Look for plugins with recent updates—preferably within the last three months.
Review Active Installation Numbers
A plugin with 100,000+ active installations has a massive community testing it for bugs.
Compare that to a plugin with 50 installs. Which one do you think gets security patches faster? The community pressure on popular plugins forces developers to stay on top of vulnerabilities.
Read Support Forum Threads
This is where you discover the truth about a plugin.
Look for unresolved threads, ignored bug reports, and developers who don’t respond to critical issues. If they ignore user problems, they’ll ignore security flaws too.
I always check the support forum before installing anything. It’s saved me countless headaches.
Consider the Database Impact
Some plugins create massive custom database tables that they never clean up after uninstallation.
This bloats your backups and slows down site migrations. Heavy plugins should always be tested in a staging environment before going live on your production site.
Ask Yourself: Do I Really Need This Plugin?
Before installing anything, consider if you could achieve the same functionality with a few lines of code in your child theme’s functions.php file.
Fewer plugins mean a smaller attack surface and fewer dependencies to manage. Keep your stack lean.
Method 1: Installing Plugins from the WordPress Repository
This is the safest method for beginners and the one I recommend first.
Plugins in the official WordPress repository undergo a basic review process. While not foolproof, it’s significantly safer than downloading from random websites.
Step-by-Step Installation Process
Here’s exactly how to install a plugin from the dashboard:
- Log into your WordPress admin area
- Navigate to Plugins → Add New
- Search for your plugin by name or functionality
- Find the plugin you want and click Install Now
- WordPress downloads and extracts the plugin automatically
- Wait for the installation to complete
- Click Activate when ready

The Pause Before Activation
Don’t rush to activate immediately after installation.
Take a moment to verify the installation completed successfully. Check that your server’s file permissions allowed the extraction. If you’re running a multisite network, decide if you need to Network Activate the plugin across all sites.
Be careful with multisite activation—some plugins aren’t compatible and can cause database errors if forced to run globally.
What Happens During Activation
When you click Activate, the plugin’s activation hook runs.
This might create database tables, set default options in your wp_options table, or configure initial settings. Understanding this helps you troubleshoot if something goes wrong.
Method 2: Manual Upload via WordPress Dashboard
Premium plugins from third-party vendors aren’t available in the public repository.
These usually come as ZIP files that you need to upload manually. The process is straightforward, but there are gotchas.
How to Upload a Plugin ZIP File
Follow these steps carefully:
- Purchase and download your plugin ZIP file from the vendor
- Go to Plugins → Add New in your dashboard
- Click the Upload Plugin button at the top
- Choose your ZIP file from your computer
- Click Install Now
- Wait for upload and extraction to complete
- Click Activate
The “Link You Followed Has Expired” Error
I see this error constantly in support requests.
It usually means your server’s upload_max_filesize or post_max_size settings are too low for the plugin file size. Many budget shared hosts limit uploads to just 2MB, while modern plugins can be 10MB or larger.
You can fix this by editing your .htaccess or php.ini file, but if you’re not comfortable with that, use Method 3 instead.
A Critical Warning About Plugin Sources
Manual uploads bypass the basic integrity checks that the repository performs.
Only download plugins from reputable sources—the original developer’s website or known marketplaces. Never download “nulled” premium plugins from sketchy sites. They’re often infected with malware.
Method 3: Professional Installation via FTP/SFTP
This method gives you complete control and is essential for troubleshooting.
If a plugin breaks your site and you can’t access the dashboard, FTP is your only rescue option.
Why Use FTP for Plugin Installation?
FTP (File Transfer Protocol) or SFTP (Secure FTP) lets you directly access your server’s file system.
This method is preferred by developers because it bypasses PHP upload limits entirely. You can also use it for version control—uploading specific plugin versions when the latest update causes conflicts.
For more details on FTP workflows, see our guide on Manual WordPress Installation via FTP.
Step-by-Step FTP Installation
You’ll need an FTP client like FileZilla or Cyberduck. Here’s the process:
- Connect to your server using SFTP credentials from your host
- Navigate to wp-content/plugins/ directory
- Unzip your plugin folder on your local computer first
- Upload the entire unzipped folder to the plugins directory
- Don’t upload the ZIP file itself—servers won’t extract it
- Return to your WordPress dashboard
- Go to Plugins → Installed Plugins
- Find your plugin in the inactive list and click Activate
When FTP Becomes Your Rescue Tool
I’ve used FTP to save sites more times than I can count.
When a plugin crashes your site and you get the white screen of death, you can’t access the dashboard to deactivate it. FTP lets you rename the plugin folder, forcing WordPress to deactivate it automatically.
WordPress Plugin Installation Methods: Quick Comparison
| Method | Best For | Difficulty | Key Benefits |
|---|---|---|---|
| WordPress Repository | Free, public plugins | Low (beginner-friendly) | One-click updates, vetted code, safest option |
| Manual Upload | Premium or custom plugins | Medium | Convenient for purchased assets, dashboard access |
| FTP/SFTP | Developers, troubleshooting | High (technical knowledge needed) | Full control, bypasses PHP limits, emergency access |
Managing WordPress Plugin Updates Safely
Installation is just the beginning—ongoing management is where most people fail.
The Auto-Update Dilemma
WordPress 5.5 introduced auto-updates for plugins, which sounds great in theory.
For simple plugins with no front-end impact, auto-updates work well. They keep you protected with automatic security patches. But for complex plugins like WooCommerce or page builders, auto-updates are dangerous.
I once had a client whose entire e-commerce site broke overnight because a page builder plugin auto-updated and introduced a bug. We lost hours of sales.
My Update Strategy for Production Sites
Disable auto-updates on production sites. Update manually on a weekly schedule instead.
This lets you check the site immediately after updates to catch issues fast. Always update in this order:
- Back up your entire site first (database and files)
- Update plugins on a staging site
- Test thoroughly
- Then update on production
According to Wikipedia’s definition of data backup, the process involves copying and archiving computer data so it can restore the original after data loss. This is essential before any plugin updates.
Also check our guide on How to Safely Update WordPress Core—the same principles apply to plugin updates.
Delete Inactive Plugins Immediately
Never leave inactive plugins sitting on your server.
This is a bad habit I see everywhere. Even inactive plugins contain executable code that hackers can exploit. Deactivating stops them from loading on the front end, but the files remain vulnerable on your server.
If you’re not using a plugin, delete it completely. This reduces your security risk and keeps your file system clean.
Troubleshooting: When WordPress Plugins Break Your Site
Eventually, a plugin will crash your site. It’s inevitable.
Understanding the White Screen of Death
The most common issue is a PHP fatal error—two plugins using the same function name, or a plugin requiring a PHP extension your server doesn’t have.
You’ll see either a blank white screen or “There has been a critical error” message.
How to Debug Plugin Conflicts
First, enable WP_DEBUG in your wp-config.php file:
define('WP_DEBUG', true);
define('WP_DEBUG_LOG', true);
define('WP_DEBUG_DISPLAY', false);
This logs errors to a file without displaying them to visitors. Check wp-content/debug.log for the actual error message showing which file and line caused the crash.
The FTP Rescue Method
If you can’t reach the dashboard, use FTP to fix it:
- Log in via FTP/SFTP
- Navigate to wp-content/plugins/
- Rename the suspected plugin folder (add “-temp” to the end)
- WordPress automatically deactivates it
- Your site should come back online
Finding the Culprit Plugin
If you don’t know which plugin caused the crash, rename the entire plugins folder to “plugins-temp.”
This deactivates every plugin at once. Your site should work again. Then rename it back to “plugins” and reactivate them one by one until the site breaks. That’s your conflict.
Monitoring WordPress Plugin Performance
Some plugins are resource hogs that silently destroy your site speed.
Use Query Monitor to Find Problem Plugins
Install the Query Monitor plugin to see exactly which plugins are slowing you down.
It shows memory usage, database queries, and load times for each plugin. I once discovered a “lightweight” social sharing plugin making 50 database queries on every page load.
If you find a plugin making excessive queries, find an alternative. Speed is non-negotiable.
Controlling Where Plugins Load
Many plugins load their CSS and JavaScript on every page, even where they’re not needed.
A contact form plugin only needs to load on your Contact page, not on your homepage or blog posts. Use a script manager plugin to control where assets load. This significantly improves your Core Web Vitals scores.
WordPress Plugin Security Best Practices
As we move through 2026, automated bots constantly scan for plugin vulnerabilities.
Follow the Principle of Least Privilege
Only give plugin management access to users who absolutely need it.
Review the NCSC security principles for software management. If a plugin offers file editing through the dashboard, disable that feature—it’s a major security risk if an admin account is compromised.
Avoid Feature Bloat
Modern plugins often try to do too much.
They include tracking scripts, custom styling, icon libraries—all adding HTTP requests to your site. Choose focused plugins that do one thing well over Swiss Army knife solutions that do everything poorly.
Frequently Asked Questions About WordPress Plugins
How many plugins can I install on WordPress?
There’s no technical limit, but quality matters more than quantity. I’ve seen fast sites with 30 well-coded plugins and slow sites with just 10 bloated ones. Focus on keeping your stack lean—install only what you truly need and delete the rest.
Can plugins slow down my WordPress site?
Absolutely. Every plugin adds code, database queries, and often CSS/JavaScript files. Poorly coded plugins can dramatically slow your site. Use Query Monitor to identify resource-heavy plugins and replace them with lighter alternatives.
Are free plugins less secure than premium plugins?
Not necessarily. Many free plugins in the WordPress repository are extremely secure and well-maintained. Security depends on the developer’s practices, not the price tag. Always check update frequency, support forums, and active installations regardless of cost.
Should I delete or just deactivate plugins I’m not using?
Always delete unused plugins completely. Deactivation stops them from running, but the files remain on your server as potential security vulnerabilities. Deletion removes this risk entirely and keeps your file system clean.
What do I do if a plugin breaks my site?
Use FTP to rename the plugin folder, which forces WordPress to deactivate it. If you don’t know which plugin caused the issue, rename your entire plugins folder to deactivate everything at once, then reactivate plugins one by one to identify the culprit.
How do I know if two plugins will conflict?
You can’t always predict conflicts beforehand. That’s why testing on a staging site is essential. Install new plugins there first, test thoroughly, then deploy to production. This catches conflicts before they affect real visitors.
Your WordPress Plugin Management Action Plan
Managing WordPress plugins professionally is what separates amateur sites from professional ones.
Here’s your action plan starting today:
- Audit your current plugins—delete anything unused
- Check update dates on remaining plugins—replace outdated ones
- Set up a staging environment for testing updates
- Create a weekly update schedule
- Install Query Monitor to track performance
- Document which plugins you use and why
Additional Resources for WordPress Management
Continue building your WordPress expertise with these guides:
- Master the fundamentals with WordPress Basics and Installation
- Learn alternative installation methods in Manual WordPress Installation via FTP
- Keep your site secure with How to Safely Update WordPress Core
Plugins are simultaneously your greatest asset and biggest liability. Research before you install, monitor after you activate, and delete when you’re done. A clean site is a fast site. A fast site is a successful site.