How to Enable SSL and HTTPS on WordPress
I still remember the first time a visitor messaged me saying my site looked “suspicious.”
I had no idea what they meant until I opened their screenshot. There it was, a big red “Not Secure” warning sitting right next to my domain name in the browser. I had no SSL certificate installed, and Google Chrome was punishing me for it in front of every visitor.
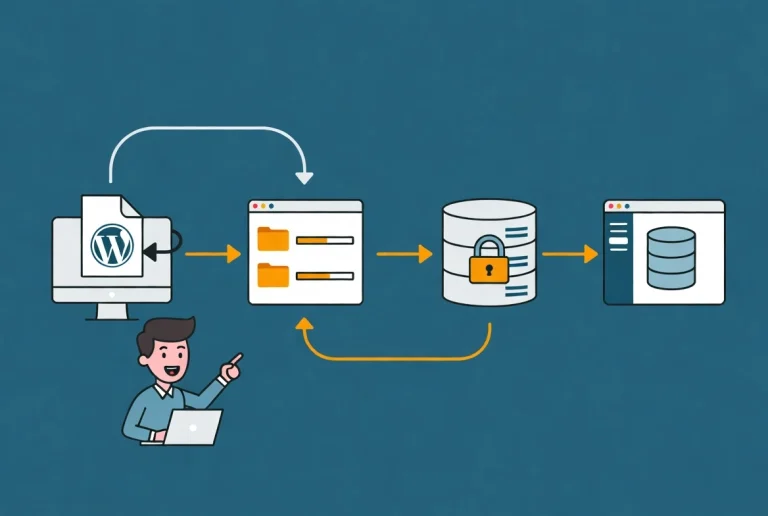
TLS certificates are normally issued and renewed by the hosting provider, control panel, CDN, or certificate authority—not installed by WordPress itself. After the certificate works for the correct hostname, update WordPress URLs through supported controls, replace mixed-content references safely, and redirect HTTP to HTTPS once. Copying generic rewrite rules without understanding the server or proxy can cause loops.
Practical checklist
- Back up and record current site URLs and redirect rules before migration.
- Test the apex domain, www hostname, admin, media, forms, canonical URLs, and HTTP redirects.
- Monitor certificate renewal and do not disable validation merely to hide a warning.
Installing an SSL certificate for WordPress is no longer optional in 2026. It protects your visitors, improves your search rankings, and ensures browsers don’t scare people away before they even read your content. This guide builds on our WordPress Basics and Installation series to walk you through the entire SSL setup process, step by step.
⚡ Quick Summary (TL;DR)
- Mandatory Web Encryption: Installing an SSL certificate is no longer optional, as modern web browsers display prominent “Not Secure” warnings on all standard HTTP sites, destroying visitor trust and damaging search rankings.
- The Ideal Solution: A free Domain Validated (DV) certificate from Let’s Encrypt provides the exact same high-grade encryption strength as premium options and can be activated via your hosting control panel’s security menu.
- WordPress Configuration: To properly implement encryption, you must manually change both the WordPress Address and Site Address
http://tohttps://inside your General Settings, then add a 301 redirect rule to your.htaccessfile. - Resolving Mixed Content: If your security padlock is broken by legacy assets loading over insecure channels, use a database search-and-replace plugin to safely upgrade all historical asset links to HTTPS.
Why Every WordPress Site Needs an SSL Certificate Today
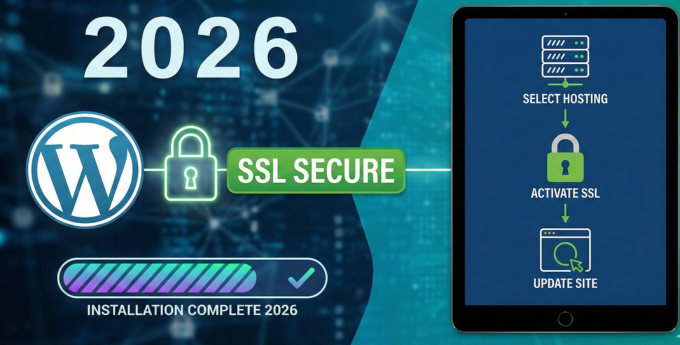
The numbers make the issue impossible to ignore.
Over 90% of all page loads across the internet are now encrypted, according to Let’s Encrypt data. Google confirmed HTTPS as a ranking signal back in 2014, and its weight has grown significantly since. Backlinko research shows a strong correlation between HTTPS and higher search positions across virtually every niche.
Beyond rankings, data privacy regulations like GDPR and CCPA make transmitting unencrypted user data a legal liability. Browsers won’t stay quiet about it either. Chrome and Firefox display prominent “Not Secure” warnings on HTTP sites, and visitors see that warning and leave before reading a single word.
Choosing the Right SSL Certificate for Your WordPress Site

Most WordPress site owners need a Domain Validated (DV) certificate, and they want it for free.
DV certificates verify that you control the domain name. They provide the same strong encryption as more expensive options. The difference between certificate types lies in the validation process, not the encryption strength.
SSL Certificate Types Worth Knowing
Here’s a quick breakdown:
- Domain Validated (DV): Free through Let’s Encrypt, instant issuance, perfect for blogs and small business sites
- Organization Validated (OV): Requires business verification, suited for established companies
- Extended Validation (EV): Full background check, used by banks and large enterprises
For 99% of WordPress sites, a free DV certificate through your hosting provider is the right choice.
How to Get and Install Your WordPress SSL Certificate
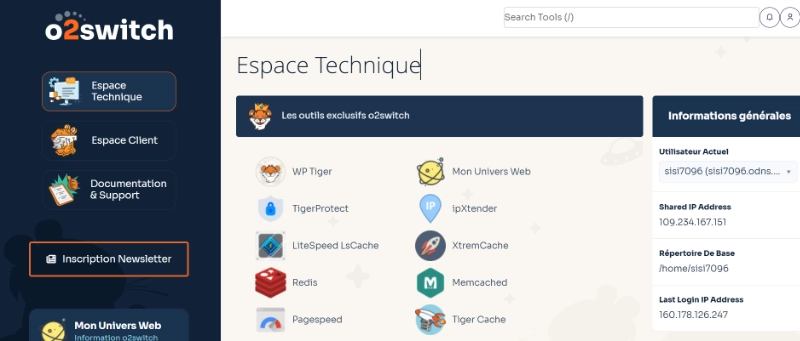
The easiest path is through your hosting provider, and most reputable hosts make the installation a one-click process.
Installing SSL via Your Hosting Control Panel
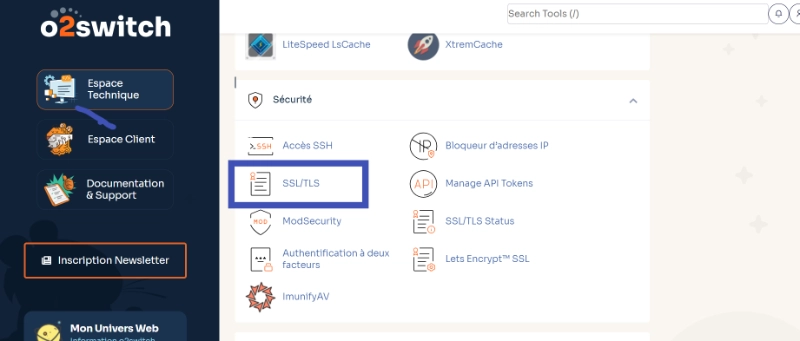
Log into your hosting dashboard and look for an “SSL/TLS” or “Security” section. Most hosts using cPanel or Plesk offer a one-click Let’s Encrypt installation. Select your domain, and the certificate installs automatically.
If your host provides “AutoSSL” or “AutoInstall” options, use them. They handle installation and automatic renewal without any extra effort from you.
Configuring WordPress to Use HTTPS Correctly
Installing the certificate on your server is only half the job. WordPress itself needs to know it should use HTTPS.
Update Your WordPress Site URLs
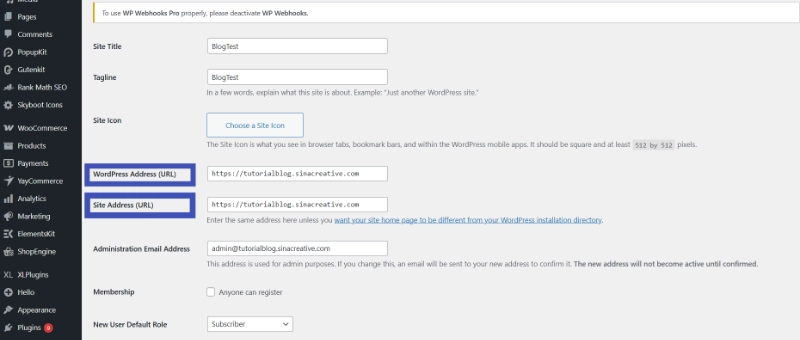
This step is critical and often missed:
- Log into your WordPress admin area
- Go to Settings, General
- Change both “WordPress Address (URL)” and “Site Address (URL)”
http://tohttps:// - Click Save Changes
Missing this step means your certificate is installed, but WordPress keeps serving HTTP content anyway.
Force HTTPS Redirects in .htaccess
Add this code above the # BEGIN WordPress line in your . htaccess file to redirect all HTTP traffic permanently to HTTPS:
# BEGIN HTTPS Redirection
<IfModule mod_rewrite.c>
RewriteEngine On
RewriteCond %{HTTPS} off
RewriteRule ^ https://%{HTTP_HOST}%{REQUEST_URI} [L,R=301]
</IfModule>
# END HTTPS Redirection
This server-level redirect is faster and more reliable than plugin-based redirects.
Fixing Mixed Content Warnings After SSL Installation
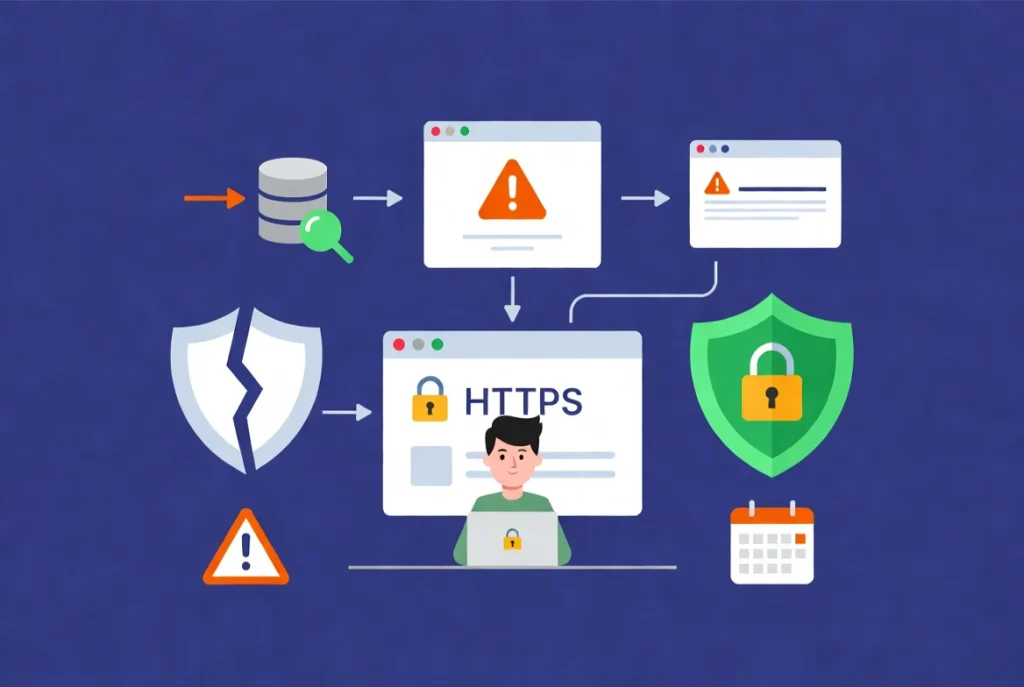
After switching to HTTPS, some images, scripts, or stylesheets may still load over HTTP. This creates “mixed content” warnings that break your padlock icon.
How to Find and Fix Mixed Content on WordPress
Open your browser’s developer console (press F12) and check the Console tab for mixed content warnings.
The fastest fix is a database search and replace. Use the “Better Search Replace” plugin to replace all instances of http://yourdomain.com “with” https://yourdomain.com across your database. Always back up before running any search and replace operation.
Verifying Your SSL Installation Is Working
A padlock icon in the browser address bar is your first confirmation. For a deeper check, run your domain through SSL Labs’ SSL Server Test and aim for an A or A+ rating.
Also verify that HTTP versions of your pages redirect correctly to HTTPS. Test your homepage, a blog post, and your contact page to confirm redirects work consistently.
SSL Certificate Renewal: Don’t Let It Expire
Let’s Encrypt certificates expire every 90 days. If your host manages SSL automatically, renewals happen without any action from you. Verify this is configured correctly.
For manually managed certificates, set a reminder to renew two weeks before expiration. An expired certificate shows visitors a severe browser warning that drives them away instantly.
Additional Resources for WordPress Security
- Build your foundation with WordPress Basics and Installation
An SSL certificate is foundational to everything your WordPress site does in 2026. Set it up correctly, verify it works, and confirm renewals are automated. Your visitors, your search rankings, and your reputation all depend on it.