Modern web design moves incredibly fast. Award-winning websites share one common trait. Motion defines premium digital experiences. Layouts feel alive and dynamic. Scrolling experiences feel meticulously engineered. Visitors stay longer on interactive sites.
Historically, high-end interactions required weeks of custom code. Heavy JavaScript animations demanded expert developers. Large budgets became mandatory requirements. Small teams struggled to compete effectively. That reality has changed completely now.
Powerful AI workflows transform web design permanently. Stunning interactive landing pages build without coding. Production-ready WordPress themes generate automatically. This guide reveals the exact step-by-step workflow. You will reverse-engineer design inspirations confidently. Animated assets generate through AI tools. Custom layouts deploy directly to WordPress.
Why Interactive WordPress Websites Matter in 2026
Static websites no longer capture attention. Users expect dynamic experiences consistently. Engagement metrics improve with interactivity. Bounce rates decrease through motion design. Conversion rates increase substantially. Brand perception elevates through premium presentation.
The Competitive Landscape Reality
Competitors adopt AI tools rapidly. Design quality expectations rise constantly. Standing out requires visual sophistication. Interactive elements differentiate brands effectively. Mouse tracking creates memorable experiences. Smooth animations signal professional quality. Users trust polished websites more deeply.
No-Code Revolution Benefits
Development costs decrease dramatically. Project timelines compress significantly. Non-technical users build professional sites. Creative vision executes without coding barriers. Iteration happens faster than ever. Client satisfaction improves substantially. Profit margins increase for agencies.
WordPress as the Final Destination
WordPress powers 43% of all websites. Flexibility accommodates any design vision. Plugin ecosystem extends functionality infinitely. SEO capabilities remain industry-leading. Content management stays beginner-friendly. Understanding fundamentals helps enormously. Start with WordPress Basics and Installation before beginning this workflow.
To watch this complete visual development process unfold in real-time, check out the full step-by-step video tutorial
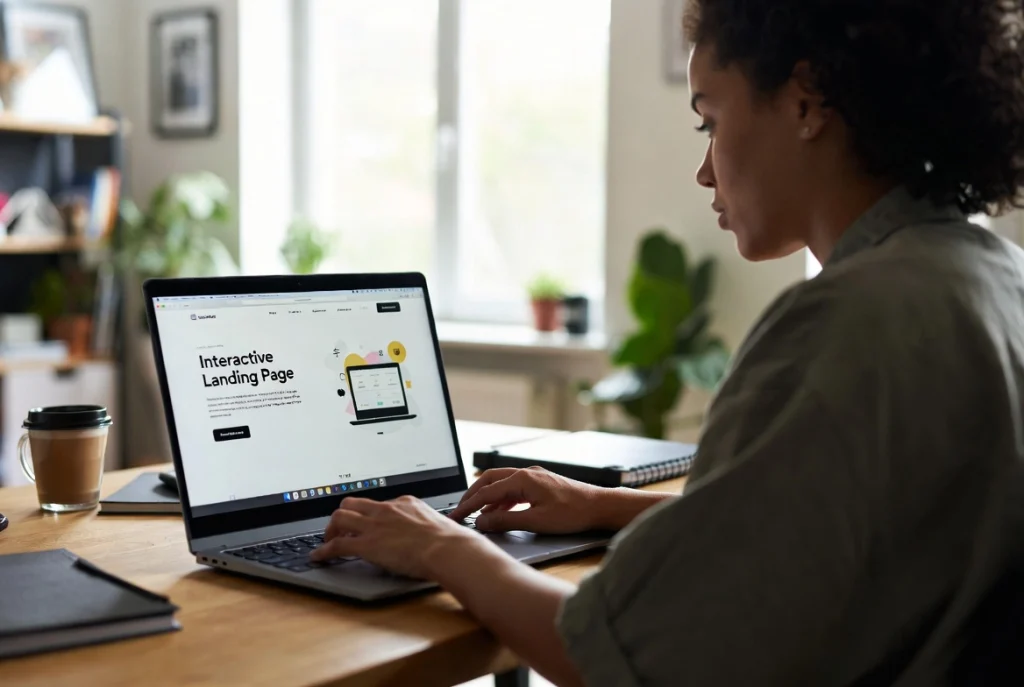
Step 1: Deconstructing Design Inspiration with ChatGPT

Every great website needs solid visual foundation. Blank pages paralyze creative thinking. Reverse-engineering existing designs accelerates everything. High-end aesthetics become accessible immediately.
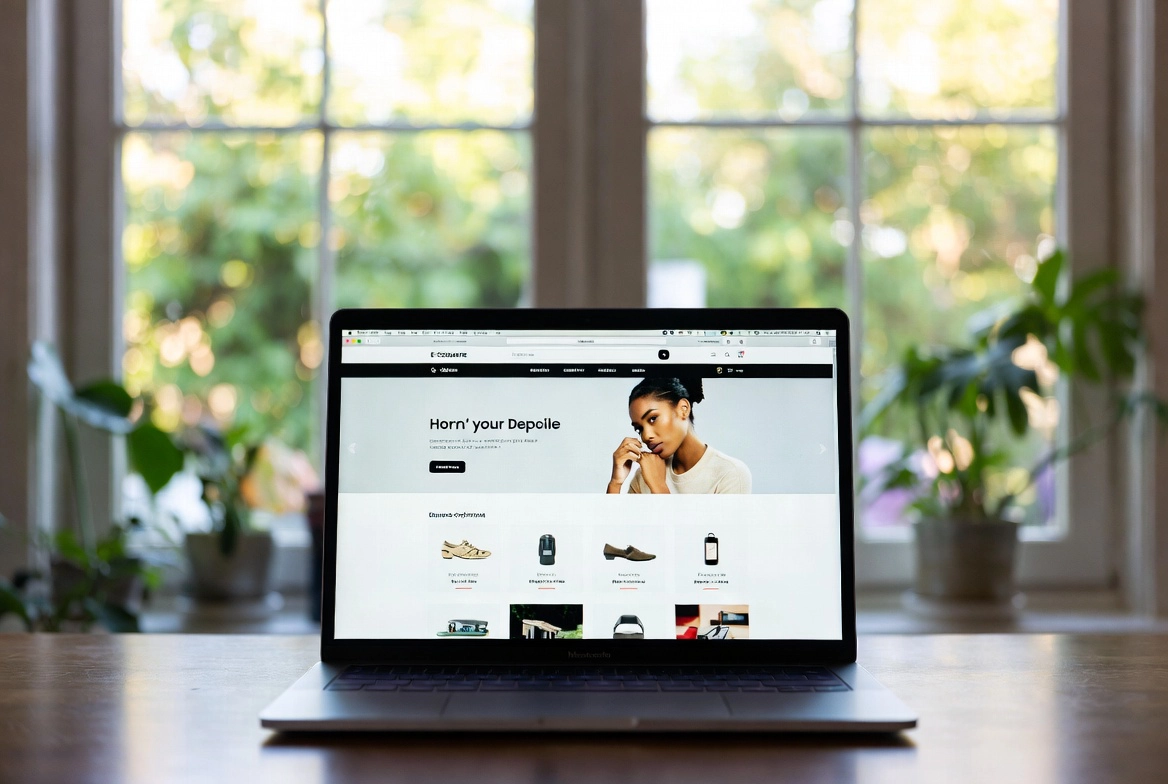
Finding Your Reference Design
Browse curated design platforms strategically. Dribbble showcases exceptional creative work. Behance displays professional portfolio projects. X (formerly Twitter) reveals trending design styles. Award-winning sites provide excellent references. Select layouts matching your project vision. Screenshot clean reference examples clearly.
Uploading and Analyzing with ChatGPT
Upload reference screenshot directly into ChatGPT. Request thorough interface breakdown immediately. Instruct analysis of layout sections clearly. Typography pairs need identification specifically. Spacing conventions require documentation thoroughly. Color palettes extract automatically and precisely. Overall structural patterns become explicit.
Creating Your Design Blueprint
ChatGPT converts flat images into detailed blueprints. Subsequent AI models comprehend instructions easily. Reconstruction becomes straightforward and accurate. Design documentation saves time enormously. Blueprint serves as master reference document. Share with team members effortlessly. Iterate based on feedback quickly.
Blueprint Best Practices
Ask specific questions about each section. Request typography hierarchy documentation. Specify color values in hex codes. Document spacing measurements precisely. Note animation styles observed. Capture interaction patterns visible. Record responsive behavior descriptions.
Step 2: Isolating Assets and Animating with MidJourney

Premium websites need unique visual assets. Motion effects create cinematic experiences. Static imagery falls flat consistently. Animated backgrounds transform ordinary pages. Professional feel emerges through subtle motion.
Background Removal with Google Gemini
Bring raw imagery into Google Gemini. Background removal happens cleanly and precisely. Individual graphic components separate clearly. Isolated elements enable flexible placement. Transparency maintains professional quality. Multiple assets process efficiently together. Quality remains high throughout process.
Animation Generation in MidJourney
Drop isolated graphics into MidJourney workspace. Prompt AI for subtle animated versions. Seamless looping background elements generate. Interactive motion effects create visual depth. Cinematic quality emerges from simple prompts. Animation loops play endlessly without interruption. File formats export for web use.
Asset Management Strategy
Organize animated files systematically. Name files descriptively for clarity. Maintain consistent folder structure always. Document animation specifications carefully. Note loop duration for each element. Record file sizes for optimization. Compress files appropriately before upload.
Step 3: Prompt Engineering in Google AI Studio
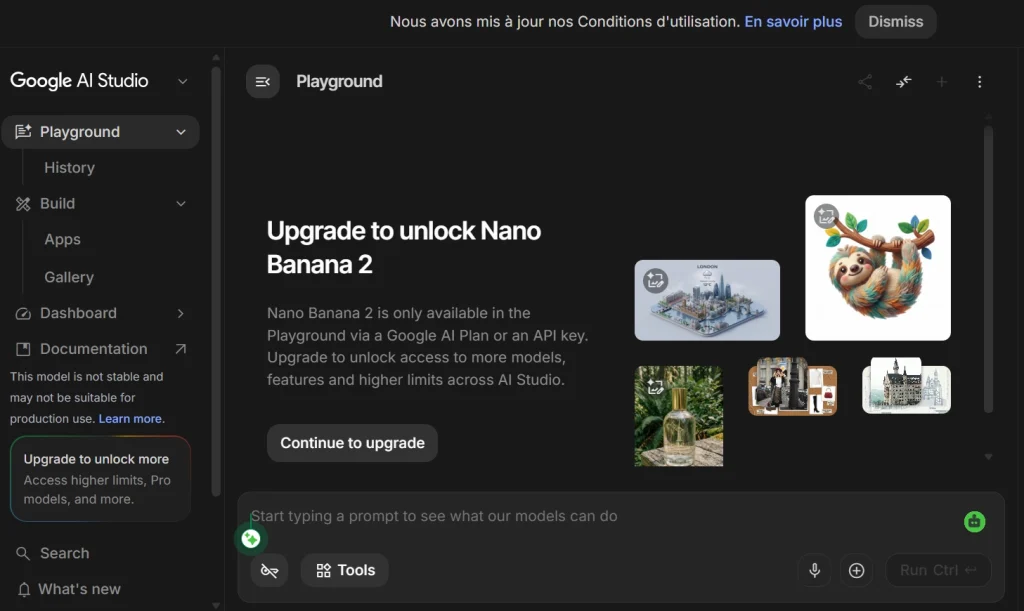
Assembly happens inside Google AI Studio. Blueprint and assets combine powerfully here. Interface construction begins systematically.
Initializing Your Build
Open Google AI Studio workspace first. Paste design breakdown text completely. ChatGPT blueprint integrates seamlessly. Attach original reference screenshot additionally. Outline build intentions clearly and specifically. Provide context about target audience. Specify desired interaction behaviors explicitly.
Iterative Refinement Process
First AI output rarely achieves perfection. Iteration forms essential part of workflow. Tweak layout requests based on results. Refine prompts progressively and specifically. Generated structure mirrors design goals. Multiple rounds improve accuracy substantially. Patience produces exceptional final results.
Injecting Animations into Layout
Upload looping MidJourney animations next. Position them as interactive backdrops precisely. Instruct model on placement preferences. Animation timing coordinates with scroll behavior. Background layers create depth perception. Foreground content remains highly readable. Visual hierarchy maintains professional standards.
Troubleshooting Asset Loading Issues
Media elements sometimes fail loading. Google AI Studio warns about broken paths. Open project’s built-in file manager immediately. Drag images directly into public folder. Video backgrounds follow same process. Save changes after each upload. Ask model to re-verify directory paths. Broken visuals restore through path correction.
Step 4: Adding Mouse-Tracking Interactivity and Responsiveness
Elegant design should respond to user input. Dynamic responses keep visitors engaged longer. Interactive elements create memorable experiences. Users remember sites that respond intelligently.
Implementing Mouse-Tracking Effects
Paste custom interactive prompt into console. AI Studio writes mouse-hover logic. Character graphics track cursor movements. Screen interaction feels remarkably fluid. User experience becomes genuinely engaging. Custom logic implements without manual coding. Testing reveals smooth cursor following behavior.
Creating Fluid Cursor Following
Central character graphic tracks mouse cursor. Movement feels natural and responsive. Speed calibration prevents jarring jumps. Easing functions smooth transitions beautifully. Performance optimization ensures smooth operation. Frame rates maintain consistency throughout. Mobile equivalents use touch tracking instead.
Mobile Responsiveness Optimization
Desktop layout perfection comes first. Responsive scaling instruction follows next. Review structure across multiple screen sizes. Padding adjustments happen automatically through prompts. Text scaling maintains readability always. Containers stack correctly on mobile. Tablet layouts receive specific attention. Two or three iterations achieve perfection. Test thoroughly before deployment.
Performance Considerations
Interactive elements impact page speed. Optimization prevents performance penalties. Lazy loading applies to animations. GPU acceleration improves smoothness. Frame rate targeting ensures consistency. Mobile performance receives priority attention. Tools like AI can help significantly here. Learn more at Ultimate WordPress SEO Guide: Rank in Google & AI Search (2026).
Step 5: Converting the Project into a Live WordPress Theme
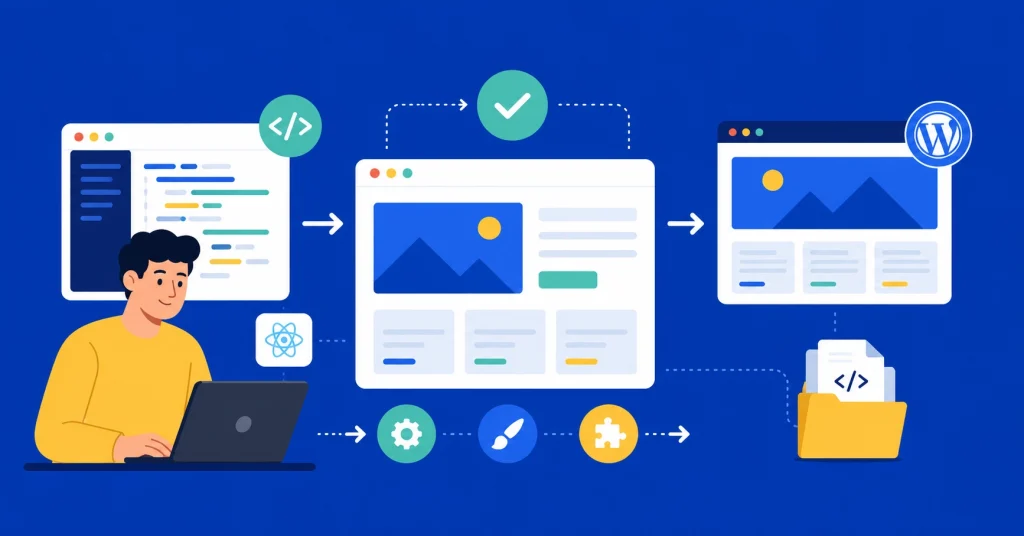
Interactive React application exists fully now. TypeScript powers advanced functionality. Conversion to WordPress theme begins. Anti-Gravity makes transition seamless. Production deployment happens within minutes.
Understanding Anti-Gravity’s Role
Anti-Gravity bridges code and WordPress. React applications convert to native themes. PHP files generate from JavaScript code. WordPress hierarchy creates automatically. Professional template architecture emerges. No manual conversion work required. Quality remains consistently high throughout.
Exporting from Google AI Studio
Locate Code option in top toolbar. Export to Anti-Gravity option appears. Right-hand panel contains selection button. Click export and project opens automatically. Anti-Gravity environment loads instantly. Project transfers completely without data loss. Verification confirms successful transfer.
Executing Full WordPress Conversion
Raw build contains advanced React code. Simple wrapping creates inadequate results. Execute deliberate conversion prompt specifically. Instruct complete WordPress theme conversion. Native professional hierarchy outputs correctly. Clean style.css file generates automatically. index.php follows proper WordPress conventions. Core template architecture builds completely. Professional standards maintain throughout process.
Theme Installation and Activation
Anti-Gravity generates complete theme package. Download process completes within seconds. Navigate to WordPress administrator dashboard. Find Appearance menu in left sidebar. Select Themes option from submenu. Click Add New button prominently. Choose Upload Theme option next. Select downloaded zip archive file. Click Install Now button confidently. Activation makes theme live immediately. Site transforms to new design instantly.
Post-Installation Optimization
Test all interactive elements thoroughly. Verify animations load correctly everywhere. Check mobile responsiveness carefully. Confirm mouse tracking works properly. Review page load speed metrics. Optimize images if needed still. Security setup follows immediately after. Plugin installation enhances functionality. For AI tool comparisons and workflow decisions, review WordPress 7 vs Novamira Plugin AI Tools 2026.
Enhancing Your WordPress Site After Launch
Launch marks beginning not completion. Ongoing improvements drive better results. AI tools continue assisting development. Strategic enhancements compound over time.
Adding AI-Powered Features
Claude AI integrates with WordPress powerfully. Automated content generation accelerates publishing. Customer interactions improve through AI. Personalization creates better user experiences. Learn the complete integration process at How to Connect Claude AI to WordPress Using Novamira MCP.
Handling Plugin and Update Issues
WordPress updates sometimes cause problems. Interactive themes require careful update management. Plugin conflicts arise occasionally. Systematic troubleshooting resolves issues quickly. Backup procedures protect work consistently. Recovery processes restore functionality. Detailed guidance appears at WordPress Update Broke Site Fix FlowGuard.
SEO Implementation for Interactive Sites
Interactive sites need specialized SEO attention. JavaScript rendering affects indexing sometimes. Server-side rendering improves crawlability. Meta tags optimize through plugins. XML sitemaps guide search engines. Schema markup enhances rich snippets. Official guidance from WordPress SEO | WordPress.com Support provides excellent foundation.
Performance Monitoring
Core Web Vitals tracking reveals issues. Google Search Console monitors indexing. Analytics tools measure user behavior. Heatmaps show interaction patterns. A/B testing improves conversion rates. Regular audits maintain site health. Monthly reviews identify improvement opportunities.
Key Takeaways for No-Code WordPress Success
Workflow mastery accelerates with practice. Each project builds on previous knowledge. Results improve through iteration and refinement.
Deconstruction Powers Everything
ChatGPT analysis of screenshots creates structural baseline. Other AI tools execute from that foundation. Blueprint quality determines final output quality. Invest time in thorough analysis. Specific instructions produce precise results. Vague prompts generate mediocre outputs. Detail produces professional quality consistently.
Looping Elements Transform Experiences
Animated backgrounds elevate basic landing pages. Premium digital experiences emerge through motion. Small modifications create dramatic improvements. MidJourney animations loop endlessly. Performance optimization maintains smooth playback. User engagement increases substantially. Brand perception improves immediately.
True Theme Conversion Matters Critically
Basic code wrappers produce poor results. Anti-Gravity ensures proper conversion always. React code translates to core WordPress architecture. Template hierarchy builds correctly automatically. Professional standards maintain throughout conversion. Testing confirms successful implementation. Future updates remain manageable and clean.
Conclusion: The Future of No-Code WordPress Development
Bridge between design and deployment shortens dramatically. AI toolsets eliminate manual frontend compilation. Creative vision executes without technical barriers. Google AI Studio generates sophisticated interfaces. Anti-Gravity converts them to WordPress themes. ChatGPT deconstructs design inspirations intelligently. MidJourney creates premium animated assets. Gemini isolates graphic components precisely.
Every component of this workflow uses AI. Human creativity guides the process strategically. Technical execution happens automatically. Results match or exceed manual development. Time savings allow more client projects. Profit margins improve substantially. Portfolio quality elevates immediately.
Start your first no-code project today. Reference designs inspire your creative direction. AI tools handle technical implementation. WordPress receives your finished theme. Interactive websites launch without writing code. Your web design capability transforms permanently. The future belongs to AI-empowered creators. Build something extraordinary immediately.