
How to Add Google Maps to Elementor: Complete Setup Guide (2026)
Adding a map to an Elementor page is straightforward, but the correct setup depends on which method you choose. Elementor’s native Google Maps widget uses Google’s Maps Embed API, so it needs a Google Cloud project, billing account, API key, and the Maps Embed API. A map copied from the consumer Google Maps “Share” panel can instead be placed in Elementor’s HTML widget without creating your own API key.
This guide explains both methods, corrects several common API setup mistakes, and shows how to secure, test, and maintain the map. If you are still learning the editor, begin with our first Elementor page guide.
Quick answer: which map method should you use?
| Method | Best for | API key | Main trade-off |
|---|---|---|---|
| Elementor Google Maps widget | A map managed visually inside Elementor | Required | Needs Google Cloud and billing setup |
| Google Maps Share iframe in an HTML widget | A simple location map with minimal setup | No key supplied by you | Fewer Elementor controls |
| Google Maps URL button | Fast directions with no embedded map | Not required | The map opens in Google Maps instead of appearing on the page. |
For most contact pages, either of the first two methods is sufficient. A plain “Get directions” link is also worth keeping below an embedded map because it gives visitors a clear fallback and opens the destination in their preferred Google Maps experience.
Method 1: Add Elementor’s Google Maps widget.
Elementor describes the Google Maps widget as a standard widget for embedding locations, especially on contact pages. Its current setup uses the Google Maps Embed API. You do not need to enable the Maps JavaScript API, Geocoding API, Places API, or Directions API merely to use this widget.
1. Create or select a Google Cloud project.
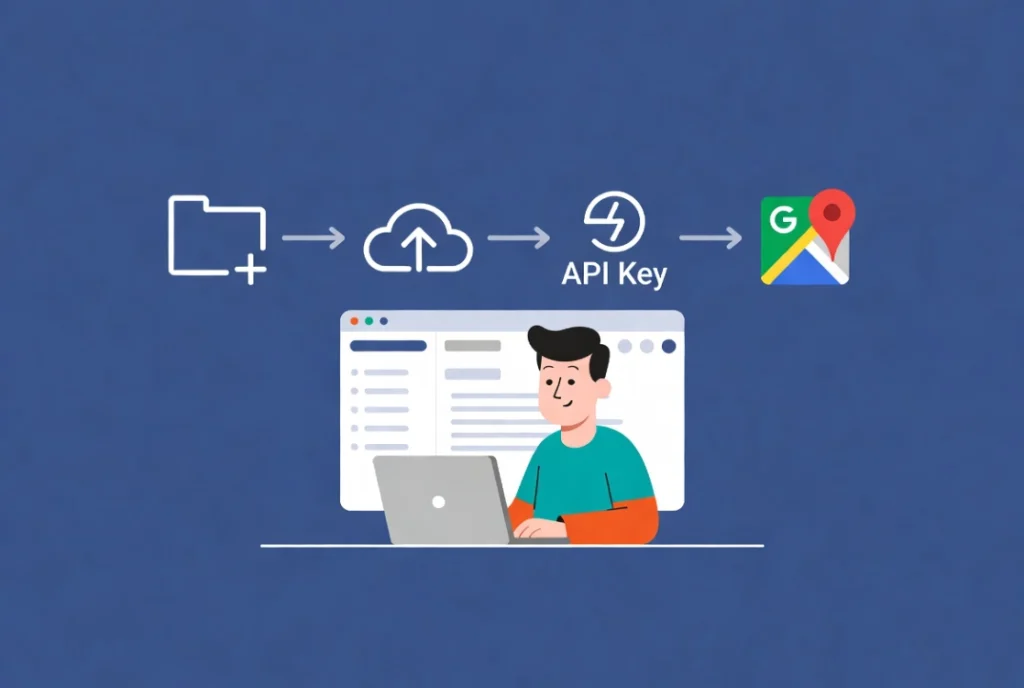
Sign in to the Google Cloud console, open the project selector, and create a project or choose an existing one that you control. Use a recognizable project name so the site, credentials, and billing activity are straightforward to identify later. Avoid reusing one unrestricted key across unrelated client sites; separate projects or keys make access and usage easier to manage.
2. Link a billing account
Elementor’s official integration instructions require a project with a billing account. Google currently lists the Maps Embed SKU as available at no charge with unlimited free usage, but a valid billing account is still part of the platform setup. Pricing policies can change, so refer to the official Maps Embed API usage and billing page instead of relying on an old monthly-credit figure.
Google Cloud budgets and alerts are useful monitoring tools, but an alert is not automatically a strict spending cap. Keep only the APIs that the site actually needs enabled, review usage periodically, and configure notifications for the billing account.
3. Enable the Maps Embed API

In the selected project, open APIs & Services → Library, search for the Maps Embed API, open it, and select Enable. This detail matters: many older tutorials tell readers to activate the Maps JavaScript API and Geocoding API, but Elementor’s current documentation identifies the Maps Embed API as the requirement for its widget.
4. Create and restrict the API key.
Open APIs & Services → Credentials, choose Create credentials → API key, and then edit the new key. Treat a browser key as an identifier that must be tightly restricted, not as a secret that can remain hidden in the page source.
- Under application restrictions, choose Websites and add the exact HTTPS domain patterns that need to load the map.
- Include both the main hostname and any genuine subdomain or staging hostname that must work.
- Under API restrictions, allow only the Maps Embed API for this key.
- Remove temporary test origins when the site moves to production.
Google recommends applying both application and API restrictions because an unrestricted key can be used outside your site. Follow its current API security guidance, and never publish server-side service credentials in Elementor or in a public repository.
5. Connect the key to Elementor.
In WordPress, go to Elementor → Settings → Integrations. Locate the Google Maps. Embed the API field, paste the restricted key, and save the changes. This is a site-level setting, so Elementor can use the same configured key for its Google Maps widgets.
6. Add and configure the widget.
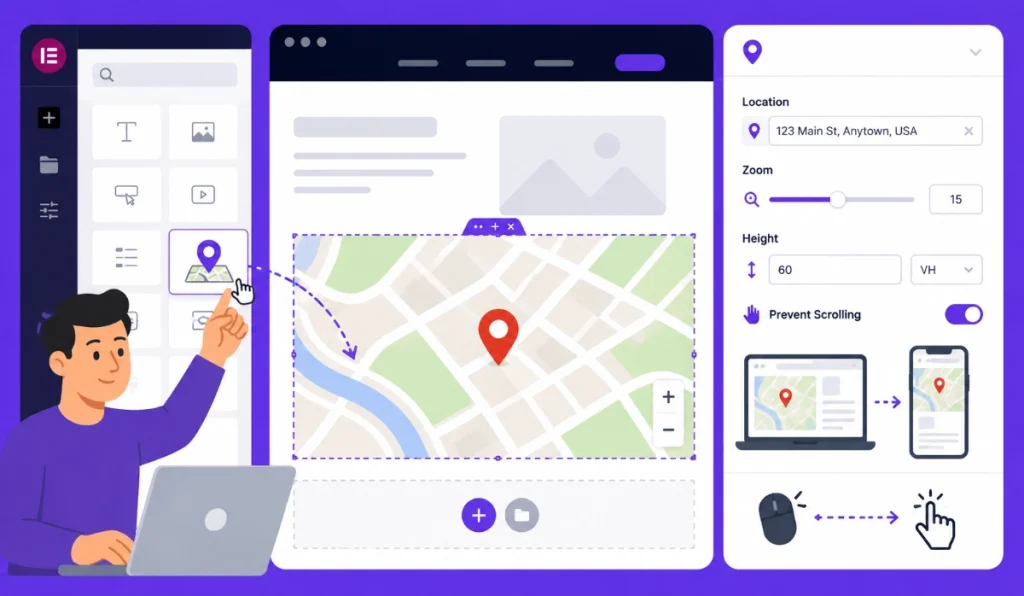
Edit the target page with Elementor, search for Google Maps, and drag the widget into the desired container. Enter a complete, unambiguous location. If several businesses or streets have similar names, include the city, region, and country. Then adjust the zoom and height while checking both desktop and mobile previews.
Elementor’s Style tab provides CSS filters for visual treatment, including contrast changes and hover effects. Use filters carefully: a heavily recolored map can make roads, labels, and landmarks difficult to read. Keep the address and a directions link as normal text near the map rather than making the map the only way to find the location.
Method 2: paste a shared Google Maps iframe
If you only need a basic map, open Google Maps, locate the place, choose Share → Embed a map, select a size, and copy the generated iframe. In Elementor, drag an HTML widget onto the page and paste the iframe code. This consumer sharing flow does not ask you to supply your Cloud API key, though the map remains an external Google service.
The iframe method is simple and works with Elementor Free because it relies on the HTML widget, not a Pro-only map widget. Its drawback is that Elementor cannot offer the same visual controls over the iframe’s internal map. You can still control the surrounding container, spacing, width, and responsive behavior.
Make the map responsive and accessible.
A useful map must work without breaking the rest of the page. Set the map or its wrapper to fill the available width, give it a practical height, and test it at Elementor’s desktop, tablet, and mobile breakpoints. Avoid a very tall mobile map that traps touch gestures or pushes the address and contact details far below the fold. Our Elementor responsive design guide explains the broader breakpoint workflow.
- Place a written business name and postal address next to the map.
- Add a descriptive “Get directions” link using a Google Maps URL; Maps URLs do not require an API key.
- If you control the iframe markup, provide it a concise title such as “Map showing the CreatePressHub office location.”
- Keep sufficient color contrast and do not rely on a marker alone to communicate essential information.
Privacy and performance considerations
An embedded Google map loads third-party resources. Review the data flow, your privacy notice, Google’s applicable terms, and the consent requirements that apply to your visitors and jurisdiction. Where prior consent is required, a consent-management tool or a click-to-load placeholder can prevent the map from loading until the visitor makes a choice. This is a compliance decision, so confirm it with qualified guidance for the regions you serve.
Maps can also add network requests and visual weight to a page. Place the map after the core contact information, lazy-load an iframe when your implementation supports it, and retest the page after adding it. A static image should not impersonate an interactive map; if you use a lightweight placeholder, label it clearly and link it to directions.
Troubleshoot a blank, gray, or rejected map.
When the map fails, first determine which method is in use. The Elementor widget depends on your Cloud project and key, while a copied Share iframe has different markup and fewer project settings to inspect.
| Symptom | What to check |
|---|---|
| The map area is blank or shows an API error. | Confirm that billing is linked, the Maps Embed API is enabled, and the saved key is valid. |
| Map works on one hostname but not another. | Check the website referrer allowlist, including HTTPS, www, subdomains, and staging domains. |
| Correct area, wrong pin | Use a fuller address, a unique place name, plus code, or Place ID where the integration supports it. |
| Changes do not appear. | Update the Elementor page, clear the relevant site/CDN cache, and retest in a private window. |
| Layout breaks on mobile | Review container width, map height, margins, and the mobile breakpoint. |
Open the browser developer console when an API-based embed fails. Google’s Embed API error documentation notes that you can report billing and HTTP-referrer problems there. Change one setting at a time and allow a few minutes for credential restrictions to propagate before testing again. If the Elementor editor itself does not load, use our separate Elementor loading-screen troubleshooting guide.
Final checklist before publishing
- The pin or location is correct on desktop and mobile.
- The postal address and a directions link remain available outside the map.
- The API key is restricted to approved websites and the Maps Embed API only.
- The map does not overlap content or create an excessive mobile scroll area.
- Privacy and consent behavior matches the site’s policy and legal requirements.
- The live page was tested after cache clearing, not only inside the Elementor editor.
The key decision is simple: use Elementor’s widget when you want the map configured through Elementor and are prepared to maintain a restricted Cloud key; use a shared iframe when a basic location embed is enough; or use a directions button when an embedded map adds more complexity than value. Whichever route you choose, prioritize a correct address, a clear fallback link, secure credentials, and a mobile test before publishing.