Connect WordPress to Cursor, Claude, or Codex with MCP Safely
Connecting AI to WordPress used to mean entering an API key and paying per token every time the AI touched your site. That model is changing fast. Using Novamira and the Model Context Protocol, you can connect your WordPress dashboard directly to desktop AI agents like Cursor, Claude, and OpenAI Codex at no additional cost. Your WordPress management tasks route through your existing flat-rate subscription at no extra charge.
For a deeper look at how Novamira works and how it compares to WordPress 7.0’s native AI infrastructure, read our guide on WordPress 7 and Novamira: How They Fit Together.
Why MCP Beats Pay-Per-Token API Integrations
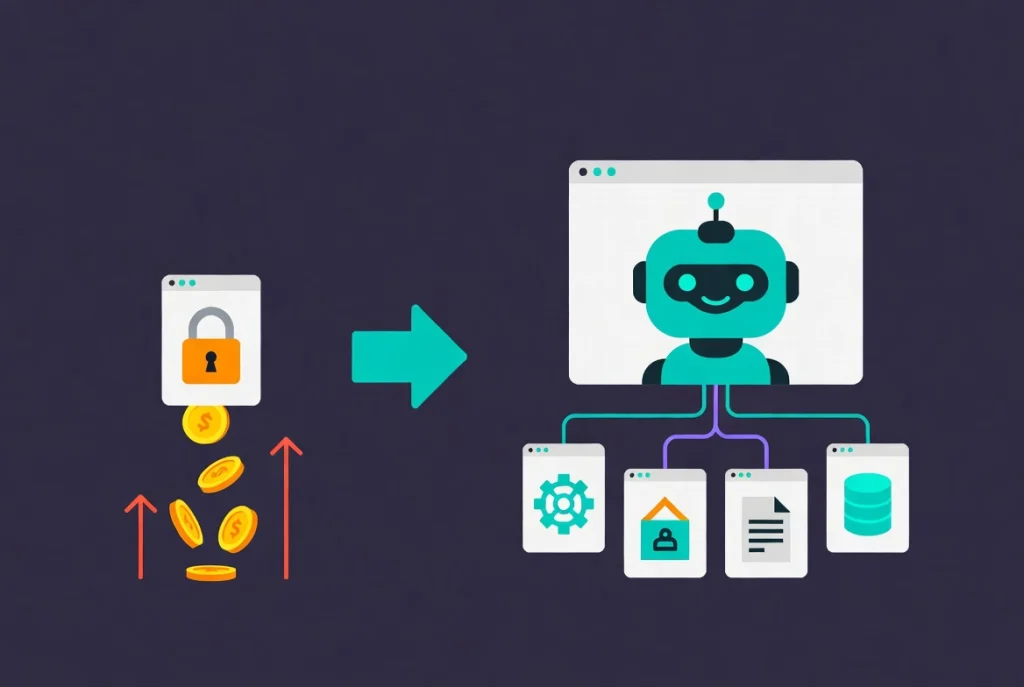
Most native WordPress AI plugins require an OpenAI or Anthropic API key. Every content generation request or code edit costs tokens. Those micro-charges accumulate quickly on active sites.
An MCP connection through Novamira bypasses those fees entirely. The AI agent inside Cursor, Claude Code, or Codex connects to your WordPress site directly. Your existing flat-rate subscription covers all the AI processing. No additional API overhead charges appear on your bill.
The AI also gains full awareness of your actual site data: plugins, active theme, post content, and database structure. Generic API key plugins work from a limited endpoint. MCP-connected agents read your full environment before acting.
Step-by-Step: Connecting WordPress to Your AI Agent
Step 1: Install Novamira.
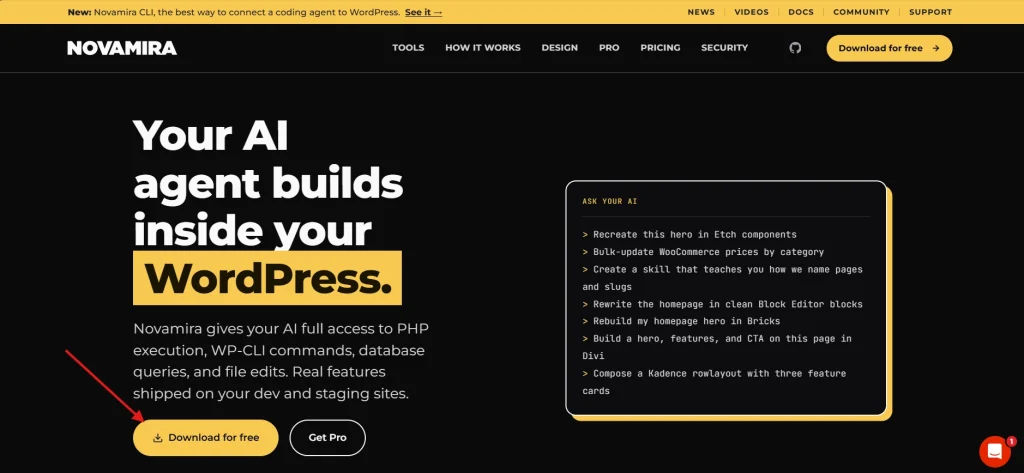
Download the free Novamira plugin from novamira.ai. In your WordPress dashboard, navigate to Plugins, then Add New, then Upload Plugin. Activate the plugin, open the Novamira menu in your sidebar, select Configuration, and toggle on Turn on AI abilities for this site.
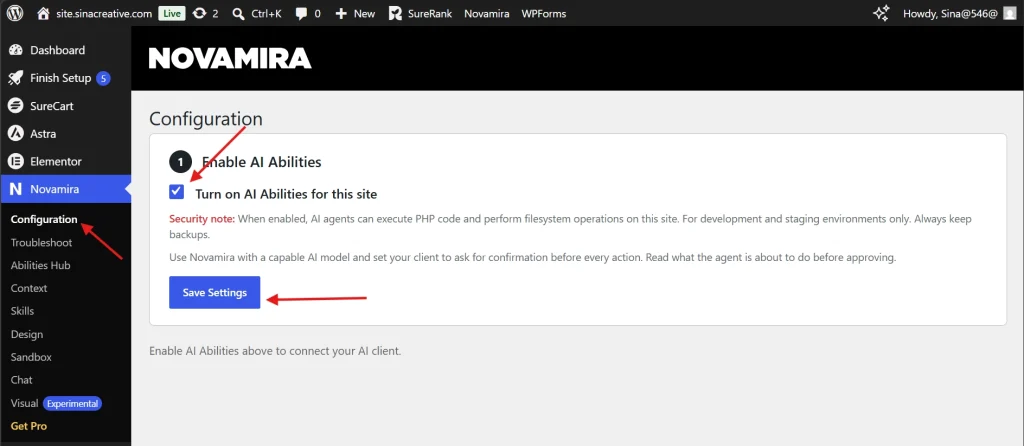
Step 2: Choose Your Authentication Method
Novamira offers two connection methods depending on which AI client you use.
Method A: OAuth (Recommended). Select OAuth inside the configuration menu and choose your AI client. Copy the instructions Novamira generates rather than manually editing your client’s internal config file. Open a project folder inside your AI agent, paste the snippet, and instruct the agent to create the MCP connection. The AI locates and updates its own config file automatically.
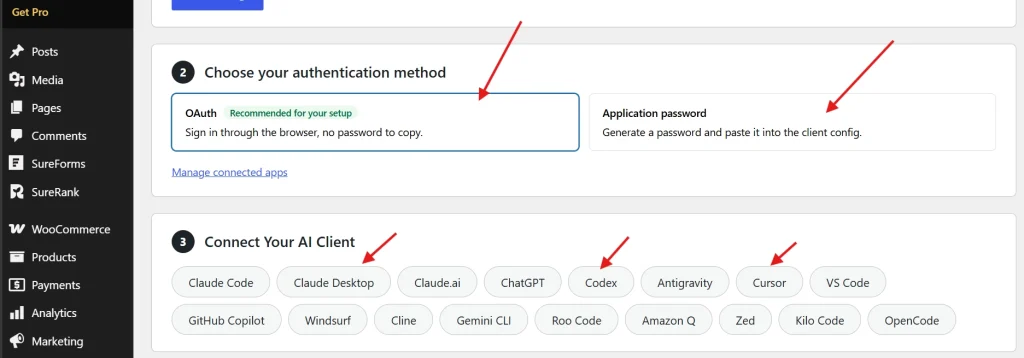
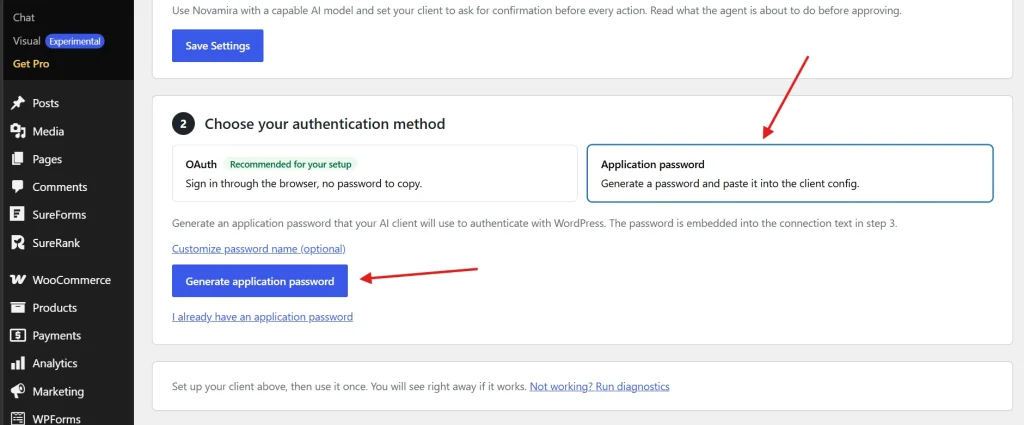
Method B: Application Passwords. If OAuth is not available for your setup, select Application Password in Novamira, generate a password token, and copy the generated prompt into your AI agent’s chat window. The prompt walks the client through adding your site as an MCP server in minutes.
Step 3: Restart and Test
Restart your AI application so it registers the new MCP server. Type a test prompt: “Test the connection and list all installed WordPress plugins.” For OAuth setups, a browser authorization window appears. Click Authorise. The agent returns your installed plugin list with active versions in real time. Connection confirmed.
💡 Pro Tip: Always test on a staging environment before connecting an AI agent to a live site. Novamira grants read and write access to your WordPress installation. Verifying on staging first costs nothing and prevents unintended changes to production content.
What You Can Do Once Connected
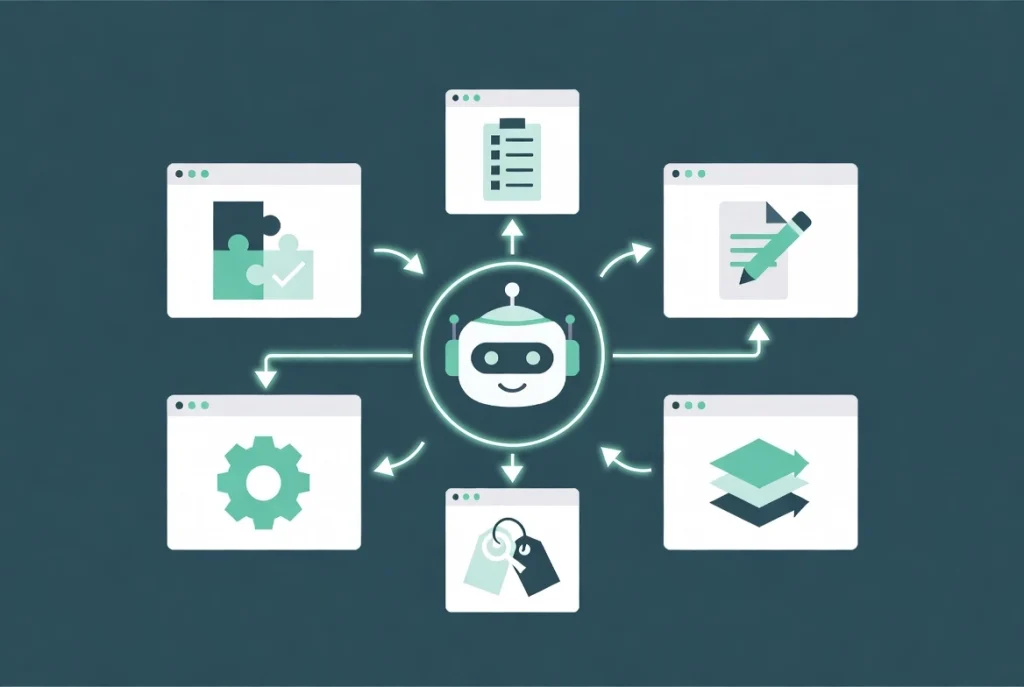
With MCP active, your AI agent inspects plugin versions, audits site configuration, generates content, updates SEO metadata, and executes bulk operations through natural language prompts. The agent works from your actual site data rather than generic assumptions.
A full comparison of Novamira against NibWP and WPVibe, including which tool fits which workflow, is in our guide on top Novamira alternatives for AI-powered WordPress development. The complete Novamira feature breakdown lives in our Novamira MCP features guide.
The full visual walkthrough of this setup is available on YouTube: How to Connect WordPress to Any AI Agent for Free.
Additional Resources
- Novamira MCP: AI-Powered WordPress Features Guide
- WordPress 7 and Novamira: How They Fit Together
- Top Novamira Alternatives for AI-Powered WordPress Development
- Novamira: Full WordPress Access for AI Agents
- Cursor: AI Coding Agent
- Claude AI
- OpenAI Codex