A freelancer I know once hit Publish on a client’s product launch page without previewing it in mobile view first. The hero image covered the CTA button completely on every smartphone. The client called within twenty minutes of the announcement going out. Two hundred visitors had already bounced without seeing the offer.
Publishing an Elementor page without a systematic review process turns hours of design work into a liability. This guide covers every step from in-editor responsive previews through post-publication verification, so every page goes live correctly the first time. If the Elementor editor is still new territory, the Getting Started with Elementor guide covers the interface foundation first. For the WordPress layer beneath everything here, the WordPress basics and installation guide are where that foundation starts.
Use Elementor’s Responsive Mode Before Anything Else
The Elementor editor defaults to desktop view, which shows the largest and most forgiving layout. Every page also needs review at tablet and mobile breakpoints before publishing. Clicking the Responsive Mode icon at the bottom left of the editor panel reveals three device views: desktop, tablet, and mobile.
Desktop view provides the primary design canvas with the most space for detailed work. Tablet view emulates screen widths between 768px and 1024px, covering iPads and similar devices where element spacing and stacking order often need adjustment. Mobile view simulates smartphone screens below 768px, the most demanding breakpoint for content hierarchy and interactive element placement. Fix every visible problem at each breakpoint before moving to the live preview step. The guide on How to Use Elementor Flexbox Containers covers responsive layout control in detail for anyone building with containers rather than the legacy section structure.
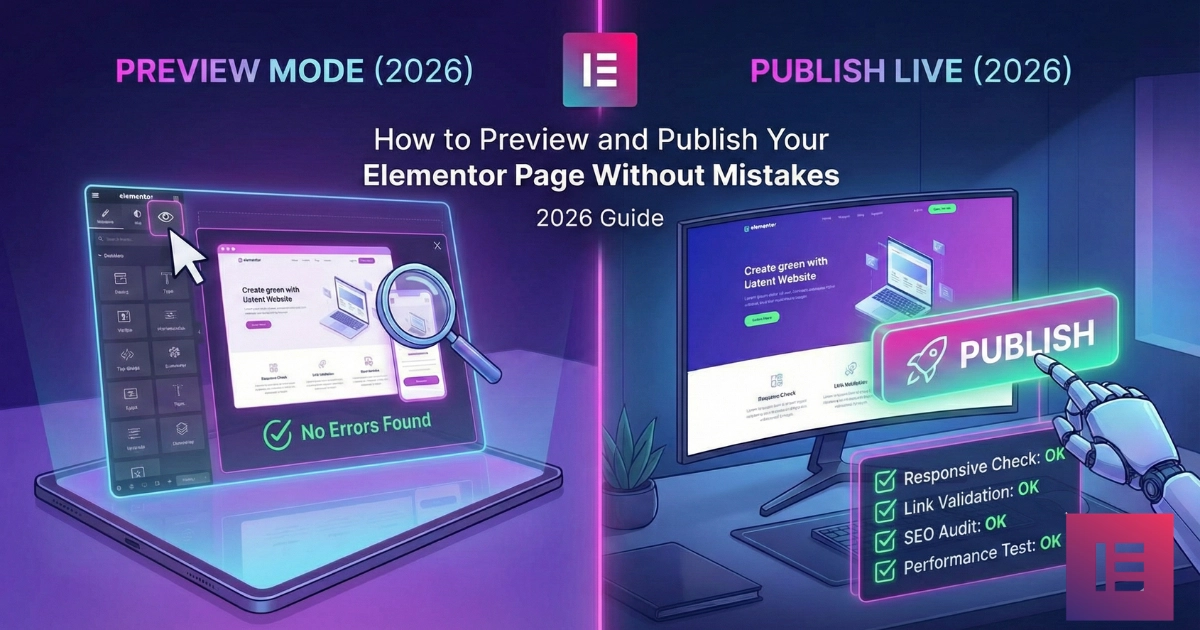
Open the Live Preview Before Hitting Publish
The eye icon at the bottom of the Elementor editor panel opens a live preview in a new browser tab. This preview renders the page exactly as a visitor would see it without making anything public. The editor canvas applies its own UI layer over the content, which occasionally hides rendering issues that appear clearly in the live environment.
Three things demand testing in the live preview that the editor canvas cannot reliably show. Forms, hover effects, accordions, and tabs need interaction testing because these elements frequently behave differently outside the editor environment. Browser rendering differences become visible when the same preview URL opens in Chrome, Firefox, Safari, and Edge. Load speed gives an initial impression of whether large images or heavy scripts create noticeable delays before any formal performance audit runs.
Test in incognito mode specifically to eliminate cached assets from previous previews. A cached version of an older design sometimes persists in a regular browser tab and masks real rendering problems.
The Pre-Publish Checklist: Six Categories to Review
Every page needs a systematic audit before the Publish button gets clicked. Working through six categories in order catches the problems that cost the most time to fix after a page goes live.
| Category | Key Checks | Why It Matters |
|---|---|---|
| Content Accuracy | Proofread all text, verify all links, confirm contact details | Errors erode authority, broken links hurt SEO |
| Visual Consistency | Check logos, colors, fonts against style guide, confirm image aspect ratios | Brand inconsistency damages recognition |
| Responsiveness | Test all three breakpoints, verify font legibility, confirm tap target sizes | Poor mobile experience drives abandonment |
| Performance | Check image file sizes, review third-party scripts, limit heavy animations | Slow load times hurt SEO and conversions |
| SEO Readiness | Confirm meta title and description, verify heading structure, add alt text | Missing fundamentals limit search visibility |
| Accessibility | Check color contrast ratios, test keyboard navigation, label all form fields | WCAG compliance expands audience and reduces legal risk |
SEO readiness deserves particular attention because the meta title, meta description, and heading structure sit outside Elementor’s canvas in the WordPress editor and the SEO plugin’s meta box. Finishing the Elementor design without checking those fields means publishing pages with default or blank SEO settings that search engines will index immediately. The guide on 7 Basic SEO Settings Every Elementor Page Needs covers every required field. The W3C Web Accessibility Initiative provides comprehensive WCAG guidelines for accessibility compliance across color contrast, keyboard navigation, and form labeling.
Understanding Every Publishing Option in Elementor
Elementor offers five distinct ways to save or publish a page. Each one serves a different purpose and carries different consequences.
The Publish button makes the page immediately live and publicly accessible to anyone with the URL. Use this only after completing the full pre-publish audit. On pages already published, the same button becomes “Update,” which saves changes directly to the live page with no staging buffer. Even minor updates deserve a preview check before clicking Update because visitors see the change instantly after it saves.
Save Draft stores current progress without making anything public. This suits ongoing projects, collaborative builds, or pages that need client review before going live. The option appears under the small arrow beside the Publish button. Save as Template stores the entire page layout as a reusable Elementor template available across any page on the site. Agencies and designers who build similar page types repeatedly save significant time by templating well-performing layouts.
Visibility settings under the Settings tab in the Elementor panel offer three access levels. Public makes the page visible to everyone. Private restricts viewing to logged-in administrators and editors, which suits internal review workflows. Password Protected requires visitors to enter a password before viewing, useful for client-specific previews or exclusive content that needs controlled access before a public launch date. WordPress’s scheduling feature lets the page publish automatically at a future date and time, which supports coordinated marketing campaigns and product launches without requiring someone to manually click Publish at the scheduled moment.
Post-Publication Verification: Three Checks After Going Live
Publishing marks the transition point, not the finish line. Three verification steps immediately after clicking Publish catch problems that only appear in the fully live environment.
Opening the live URL in an incognito browser window shows the page exactly as a new visitor sees it, without any cached assets, logged-in user cookies, or browser extensions affecting the rendering. This single step catches more post-publication surprises than any other. Running Google PageSpeed Insights on the live URL provides Core Web Vitals scores and specific recommendations based on real-world Chrome user data that the editor preview cannot replicate. Confirming cross-browser rendering in Chrome, Firefox, Safari, and Edge takes five minutes and catches the browser-specific layout differences that affect a meaningful percentage of visitors on each platform.
Frequently Asked Questions About Previewing and Publishing in Elementor
What is the difference between Preview Changes and the live preview in Elementor?
The Responsive Mode preview inside the Elementor editor simulates device widths within the editor’s own canvas, which still shows the editor UI around the content. The Preview Changes function, accessed via the eye icon, opens the page in a new browser tab and renders it exactly as a real browser would, without the editor interface. Interactive elements like forms, hover states, and JavaScript animations need testing in the browser tab preview because the editor canvas does not execute these behaviors reliably.
Can I undo a publish action in Elementor if something goes wrong?
Elementor’s revision history lets you restore any previously saved version of the page instantly. Click the history icon in the bottom toolbar of the editor to open the revision panel, select the version from before the problematic change, and restore it. The revision applies to the live page immediately after saving. For major structural changes, save a manual revision checkpoint before starting work so the restore point has a clear timestamp to identify.
How do I share an Elementor page for client review before publishing it publicly?
Two options handle client review effectively. Setting the page visibility to Private allows the client to view it while logged in as an editor or contributor on the WordPress site. Password-protected visibility lets anyone with the password view the page without needing a WordPress account, which suits clients who are not WordPress users. Both options keep the page out of public search results and away from general visitors until the review process finishes and the visibility changes to public.
Why does my published Elementor page look different from the editor preview?
Caching causes this most frequently. A caching plugin or CDN continues serving an older cached version of the page after publishing until the cache refreshes or gets cleared manually. Clear the caching plugin cache and CDN cache immediately after publishing any significant update. Browser cache on the local machine causes the same problem during testing. Opening the published URL in an incognito window bypasses the local browser cache and shows the current live version reliably.
Additional Resources
- WordPress Basics and Installation: The Complete Beginner’s Guide
- Getting Started with Elementor in 2026: The Complete Guide
- How to Use Elementor Flexbox Containers: A Beginner’s Guide
- 7 Basic SEO Settings Every Elementor Page Needs
- Responsive Design Basics for Elementor Sites
- 10 Elementor Best Practices Every Beginner Must Know
- How to Fix Common Elementor Loading Issues Fast
- How to Save and Reuse Elementor Templates Like a Pro
- How to Use the Elementor History Tool
- Google PageSpeed Insights
- W3C Web Accessibility Initiative: Accessibility Principles
Final Thoughts: Publishing Is a Process, Not a Button
The Publish button ends the build phase and starts the visitor experience. Everything that happens between finishing the design and clicking that button determines whether visitors encounter a polished, fast, accessible page or a broken one. Responsive previews, live browser testing, a six-category audit, the right publishing option for the situation, and post-publication verification with PageSpeed Insights and incognito browsing form a repeatable process that protects every hour of design work invested in the page. If you need to revisit the WordPress foundation beneath all of this, the WordPress basics and installation guide is always the right place to start.